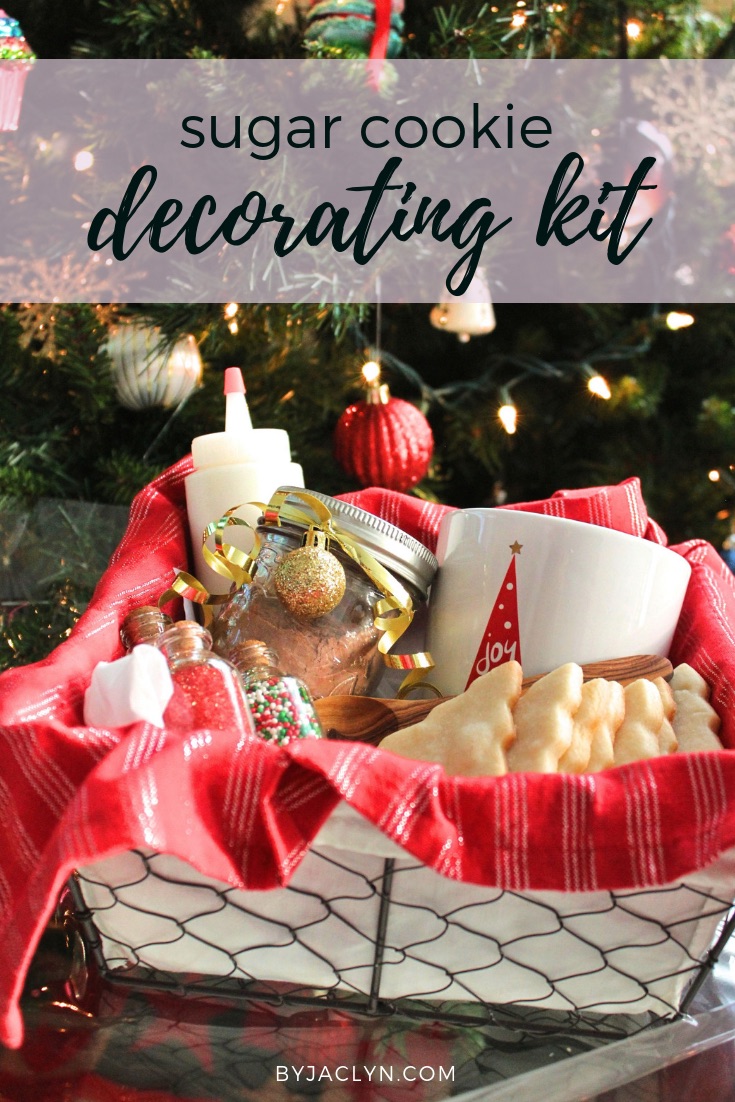
Valentine's Day Heart Sugar Cookies

Simple and sweet, pink and white Valentine’s Day heart sugar cookies video decorating tutorial.
Valentine's day heart sugar cookies video decorating tutorial

I can't believe that Valentine's Day is just around the corner. It is hard to believe that we are already almost in mid February. This year is already flying by! Do you have plans for Valentine's Day? My boyfriend and I typically keep things pretty low key for Valentine's Day. In fact, we hardly ever celebrate it on the actual day. I love the idea of celebrating Valentine’s day with your girlfriends. It has been fun seeing all of the Galentine's Day parties that are popping up on Pinterest & Instagram. Perhaps next year I will plan a Galentine's day brunch for me and my girl friends. How cute would these cookies be on a dessert table?


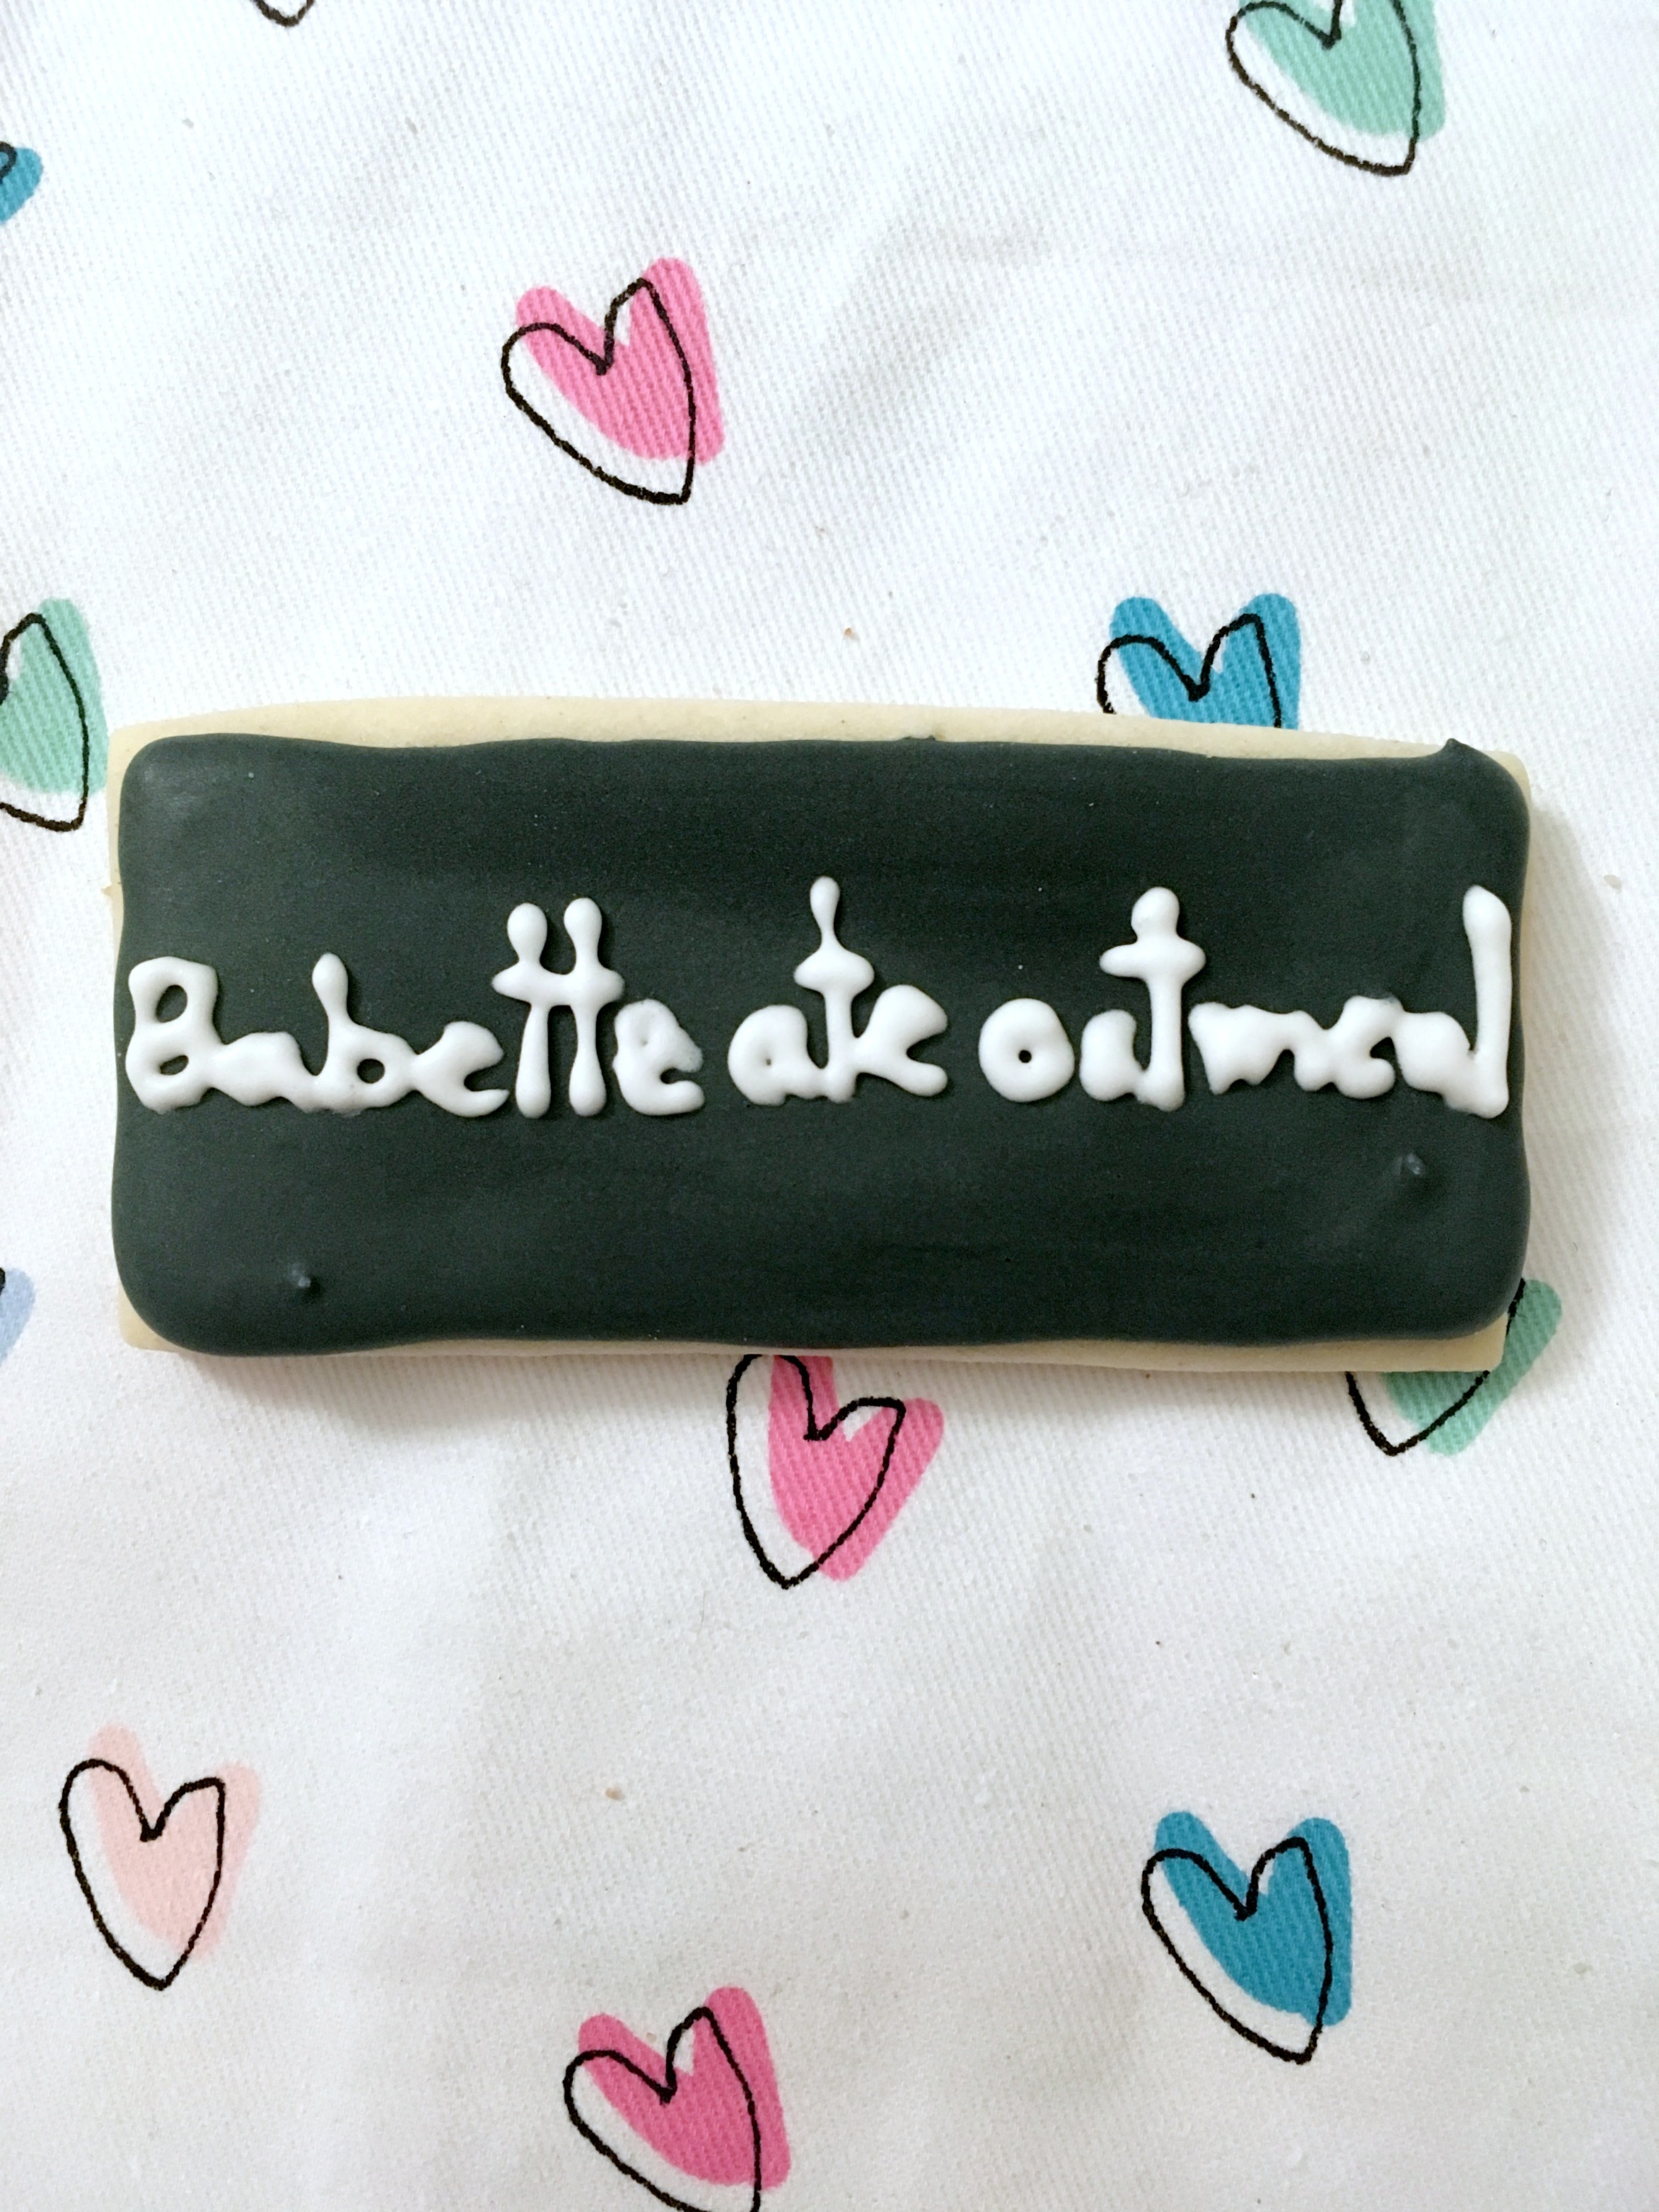
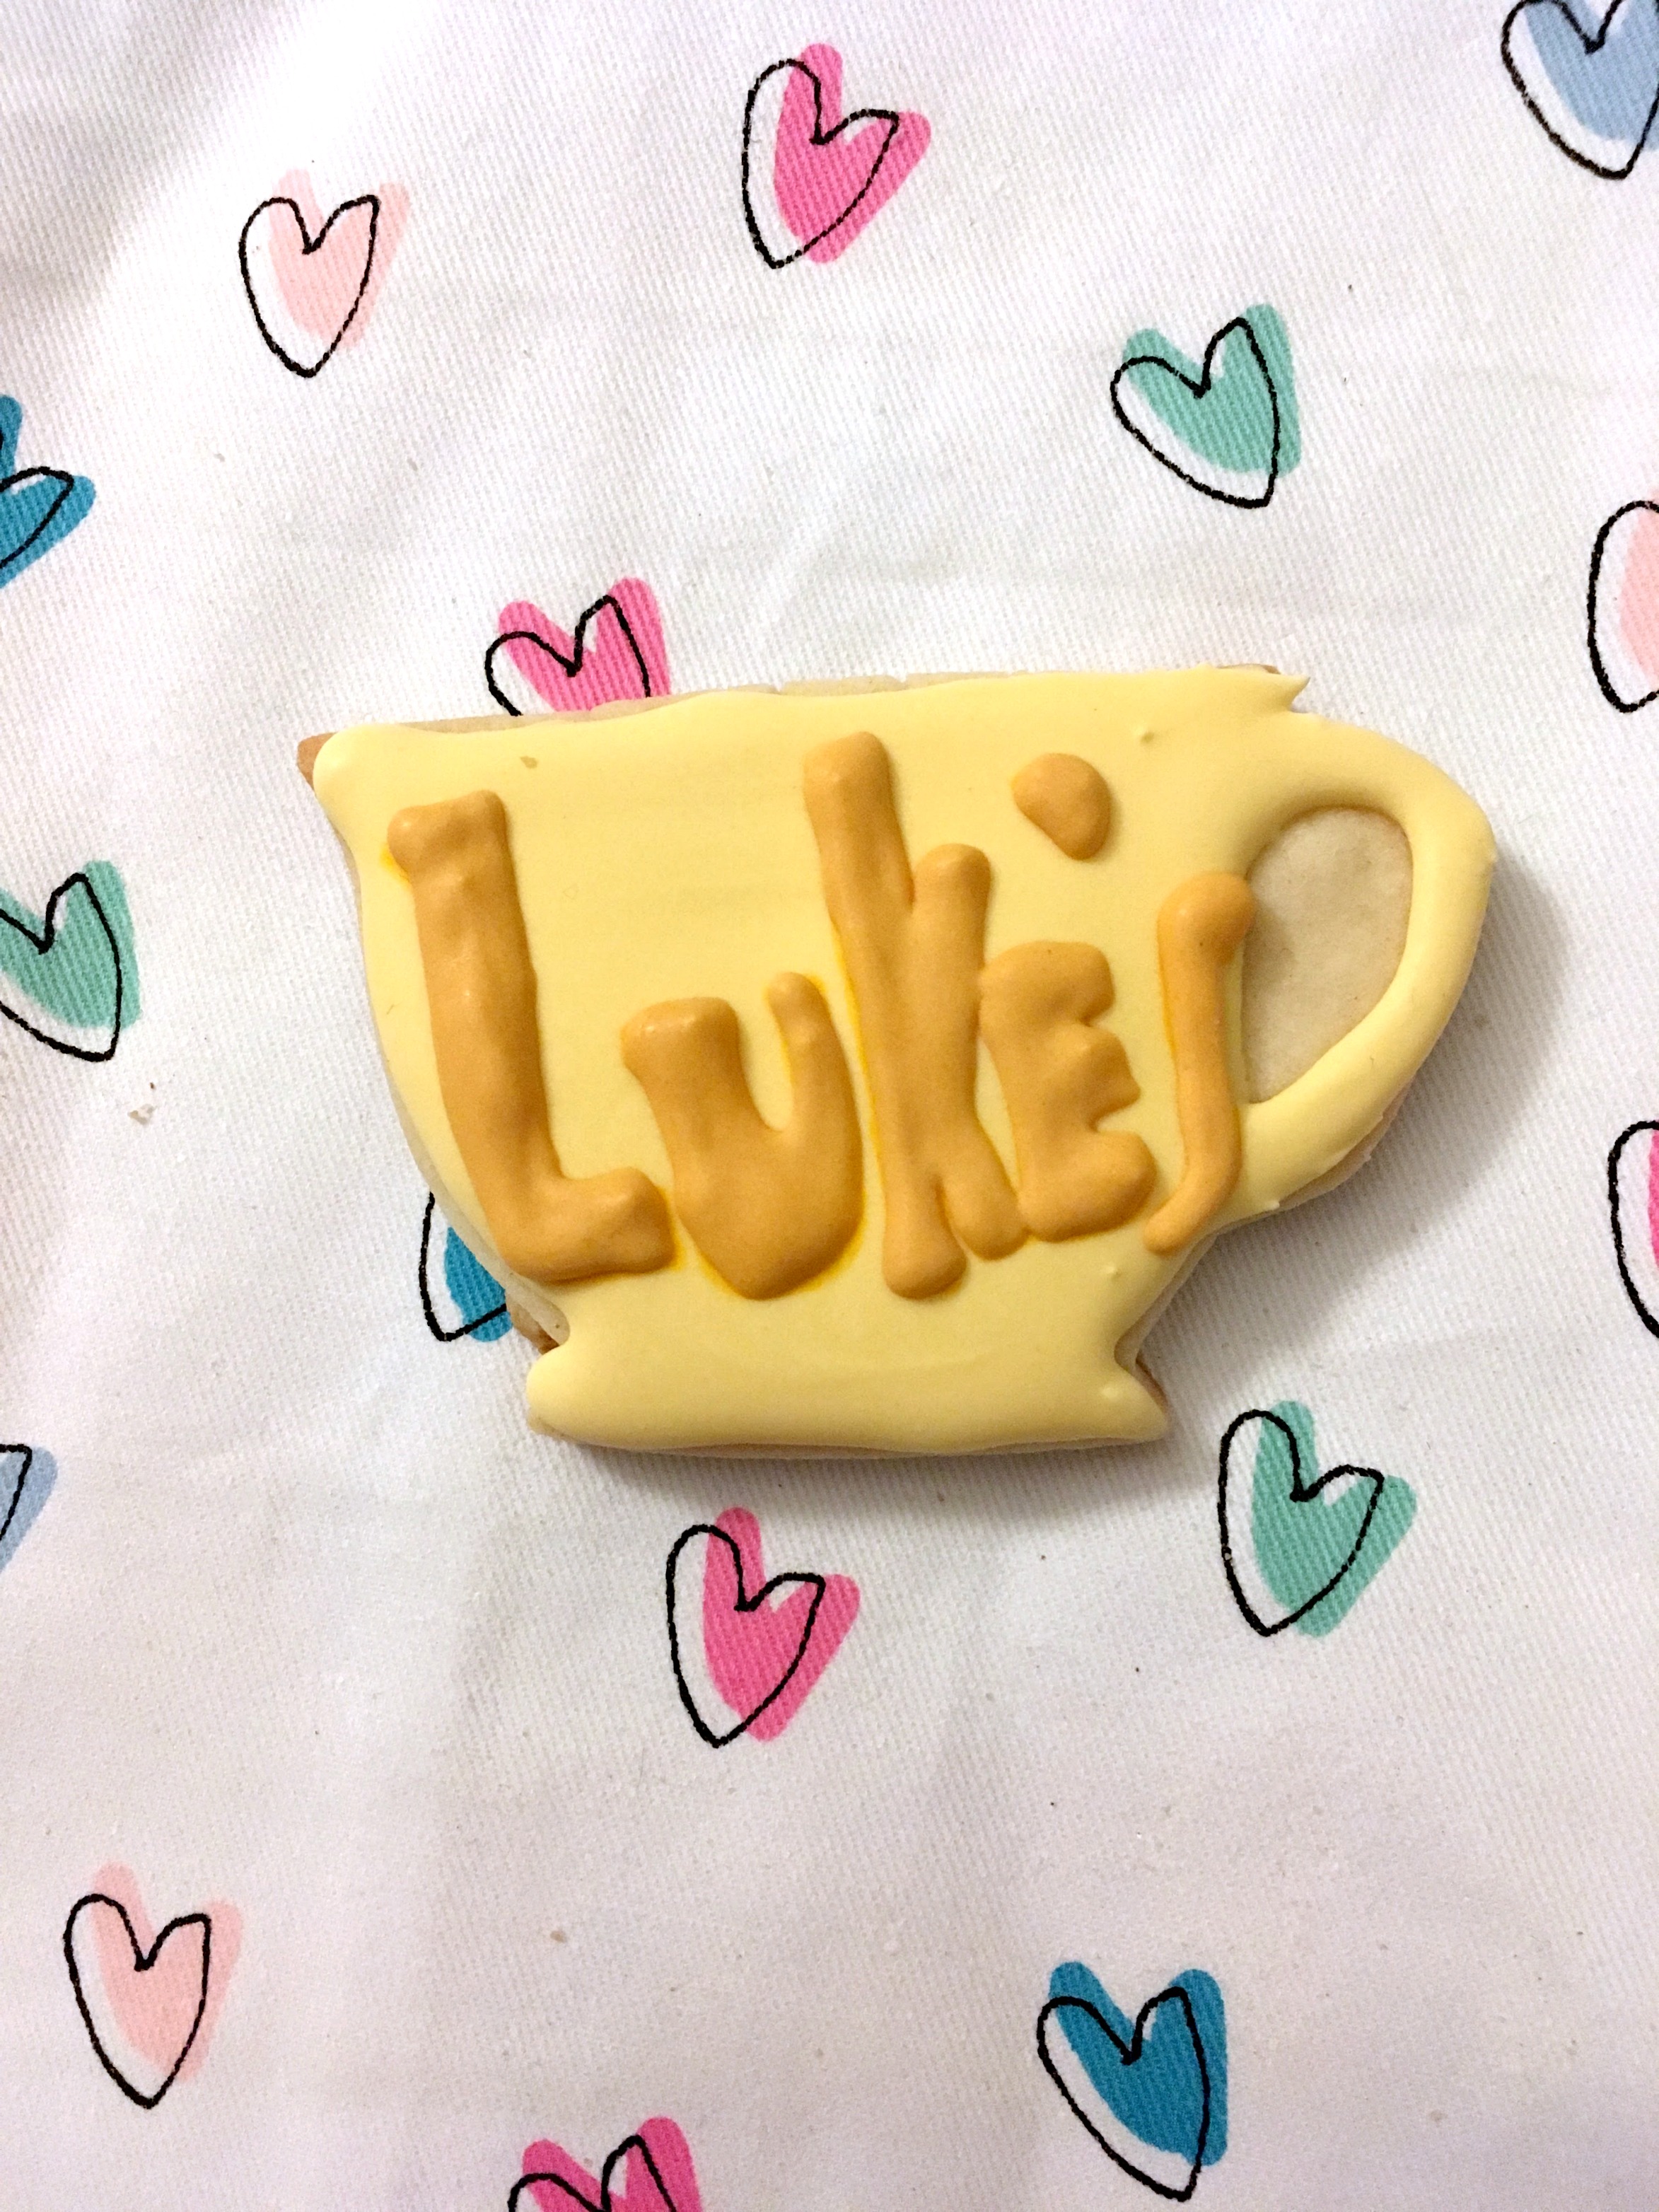
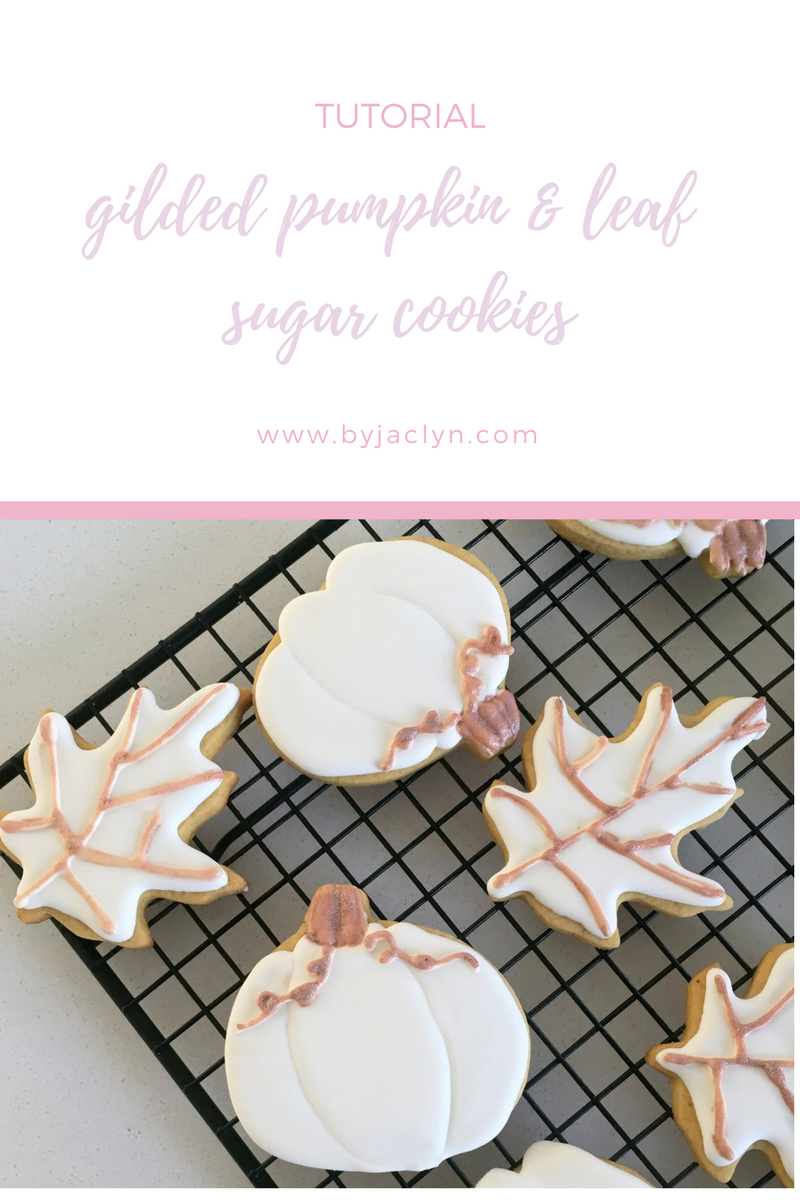
I kept these sugar cookies fairly simple using a wet on wet icing technique. Which means that I flooded the cookies then immediately added more royal icing on top so it would blend into the flood icing and dry as an even layer. This allows you to swirl or drag the icing creating pretty designs on your cookie. Don’t be afraid to play around with it. Personally, I like the simple designs best with just a line or simple border of hearts. Decorating with royal icing can be frustrating at first, especially if you don’t have the right consistency of icing. It makes all the difference between an enjoyable decorating experience and a frustrating one.  Personally, if my cookies are going to be all one colour, I tend to use the same consistency of frosting for both outlining and filling/flooding my cookies. This means that I don’t have to mix up multiple batches of icing or fill multiple piping bags. I like to use a 10 second icing - when a knife is dragged through the frosting it should take 10 seconds for the line to disappear. This video is a great explanation.

Valentine's Day Heart Sugar Cookies

You'll Need: 

  • Sugar Cookies
  • 10 Second Royal Icing 
  • Pink & Red Gel Colours* 
  • Piping bags, couplers & Tips*
  • Tooth picks 

* I used Wilton Red & Pink Gel Colours and Wilton Tips 2 & 3. 

Valentine's day heart sugar cookies video decorating tutorial

Gilmore Girls Sugar Cookies

In anticipation of the new mini series I decided to rewatch the series for the upteenth time and came up with unique sugar cookies that I believe embody the spirit of the Gilmore’s and the wonderful world of Stars Hollow. I hope you like them!
Gilmore Girl Themed Sugar Cookies for the Gilmore Girl's Revival 

Today is the day!!! I have been anxiously awaiting for the Gilmore Girls reboot since the rumours started.  To say that I am OBSESSED with Gilmore Girls is an understatement. It is the first show I ever binge watched (on DVD) and have since re-watched it over and over again (I think I've seen the entire series over 10 times). Gilmore Girls is comfort TV for me - when I am feeling sick or sad I immediately turn on one of my favourite episodes.   In high school my besties and I used to hang out in each others basements watching Gilmore Girls and eating copious amounts of junk food. From pizza to ice cream to candy to cookies we had it all! When we finished the series we started watching some of the movies mentioned throughout. We were (and maybe still are) serious die hard fans.

Gilmore Girl Themed Sugar Cookies for the Gilmore Girl's Revival

#TeamJess

One of the things I love most about Gilmore Girls is that no matter how many times I watch it I never seem to get sick of it. Each time I watch I relate to a different character is a new way. The first times I watched the series I was decidedly Team Jess. He challenged Rory, had an air of mystery about him and was your typical bad boy.  However, now I am leaning towards Team Logan. Don't get me wrong I would be happy if she ended up with Jess but there is something about Logan that I think makes him perfect for Rory - the ending of season 7 aside (it doesn't really count anyways - does it?). 

Watching the Gilmore Girl's Reunion 

While I'd like to space out the reunion episodes and not binge watch them. Letting the the excitement of a new episode live on just a little bit longer, I don't think I will have the will power. I can’t seem to sit down and watch just one Gilmore Girl's episode. I have the girls coming over tonight to watch Gilmore Girls the way we used in our pjs with lots of junk food and of course these sugar cookies!

Gilmore Girl Sugar Cookies for the Gilmore Girl's Revival on Netflix

Will you be watching the Gilmore Girl's Revival? Let me know in the comments below! 

Gilded Pumpkin & Leaf Sugar Cookie Decorating Tutorial

Simple, beautiful with a touch of sparkle these gilded pumpkin and leaf sugar cookies will bring sophistication and style to any autumn dessert table or gathering.

Gilded pumpkin and leaf sugar cookie decorating step by step tutorial with video

The ghost pumpkin trend combines my love of all things neutral and fall!  I have been seeing ghost pumpkin sugar cookies popping up all over my Instagram feed for the past couple of years now and I knew I wanted to to hop onto this bandwagon. I actually first made aversion of these decorated pumpkin sugar cookies last year but I updated them this year using a bronze luster dust instead of the lighter gold that I used last year.  I used my Pumpkin Spice Sugar Cookies with Maple Royal Icing recipe instead of a traditional sugar cookie recipe to really up the fall factor. These sugar cookies have a beautiful simplicity about them with just the perfect hint of sparkle. 

When it comes to decorating cookies using royal icing patience and practice are definitely key factors.  The more sugar cookies I make, generally the better they turn out (usually, as long as I am patient). I have learned that keeping it simple also helps! These cookies are relatively simple to decorate making them perfect for beginners!  Be sure to give yourself enough time to decorate these cookies, having patience and allowing the royal icing to dry or set up between steps will help you achieve a better result overall. I made and decorated these cookies over a three day period. I baked, outlined and flooded the cookies on the first day, added the royal icing details on the second and painted the luster dust on the third. 

The Cookies

I like to use one consistency icing when outlining and flooding my cookies. The icing consistency I use is in between a typical flooding and outlining consistency. It will hold its shape when I outline but it is still fluid enough that by lightly shaking the cookie it will settle and dry smoothly. I used a wilton tip 3 to outline the flood the cookies. When flooding the pumpkin cookies start by outlining and flooding the centre part, allowing it to dry for 15-20 minutes before I go back and flood the sides. By flooding the pumpkin cookie in stages you will be able to create the "sections" of the pumpkin achieving a more natural look.  

Once the main part of the cookie was completely dry (4 hours - overnight) I added the stem and vine details, using an ivory coloured royal icing. For the details I used a wilton sized tip 1.  For the pumpkin cookie, I wanted a textured stem. I left some space in between the lines of the stem and went back to fill them in later.  You can watch the video below to get a better idea of what I mean.

Using Luster Dust

Luster dust adds a beautiful colour and shine to your cookies. For these cookies, I mixed my luster dust with a small amount of vodka to achieve a paint consistency.  I usually use a clear alcohol when painting with luster dust but I know others use water, lemon juice or clear vanilla extract - use whatever works best for you or what you have on hand.

Gilded pumpkin and leaf sugar cookie decorating tutorial with royal icing

You Will Need:

  • Pumpkin & Leaf Shaped Sugar Cookies

  • White Royal Icing

  • Piping Bags

  • Couplers

  • Wilton Tips 1 & 3

  • Wilton Ivory Gel Colour

  • Bronze Luster Dust

  • Water, Lemon Juice or Clear Alcohol

  • Small, food safe paintbrush

Directions:

Share your Gilded Pumpkin & Leaf Sugar Cookies with me in the comments below or on Instagram using #ByJaclyn