A quick and simple sugar cookie decorating tutorial to learn how to make a water colour tulip sugar cookie bouquet.

This is a fun and simple spring sugar cookie tutorial. It would make the perfect Mother's Day gift! It would also be appropriate for spring birthdays, Easter or a fun house warming present! Or you know just because! I love that the presentation makes it look like a luxurious bouquet of tulips. I like that with this method you do not have to add sticks to your cookies, which saves time. I decided to use the water colour technique to paint my cookies rather than tint the icing and flood the cookies one solid colour. I think that by using the gel food colouring like paint it adds dimension to the cookies and gives them a more realistic look. This decorating technique is quick, simple and perfect for beginners.
Tips for making a Tulip Sugar Cookie Bouquet
Make sure your royal icing is a good flooding consistency. You will want it to be thin enough to flood your cookies, but not too thin that it runs everywhere! I like to use a 10 second icing for these cookies. That means that when I run an knife through my bowl royal icing it takes around 10 seconds for the line to disappear. The faster the line disappears the thinner the icing.
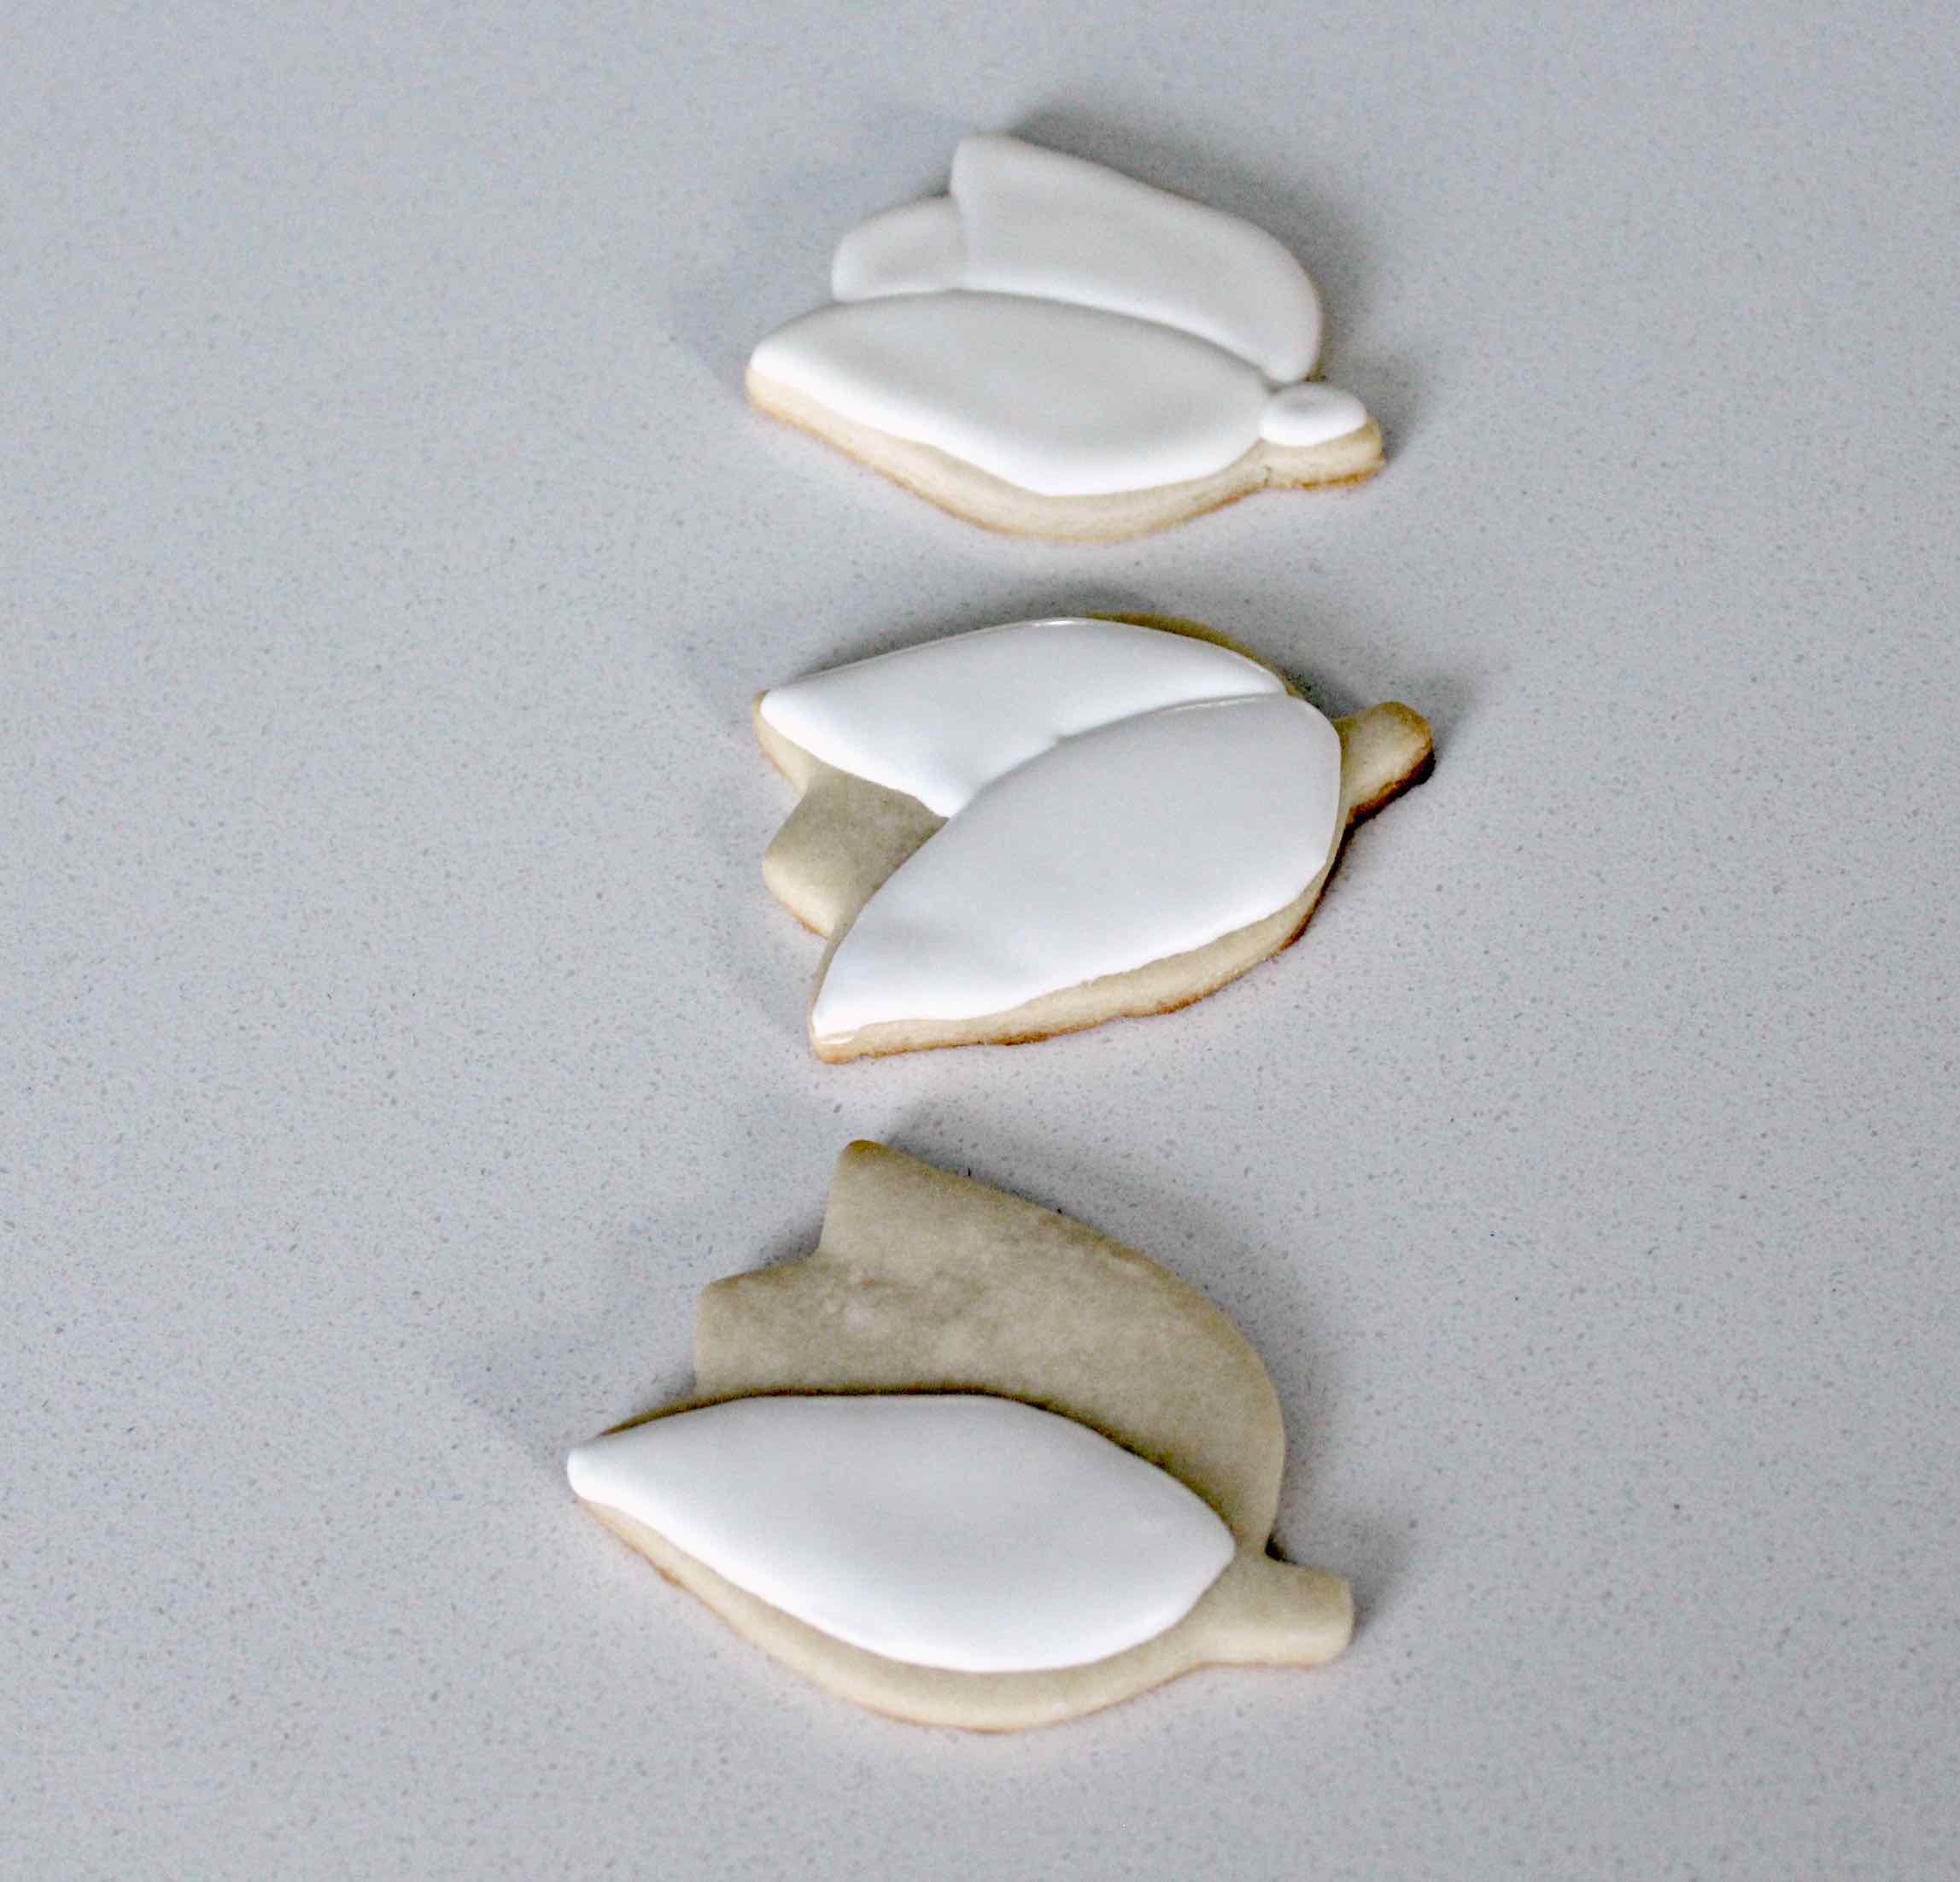
Flood your tulip cookies in three parts, allowing the icing to dry or set up for 15-20 minutes in between each part. This will give the cookie dimension. First flood the left petal, allowing the icing to dry slightly before flooding the right. Finally flood the middle petal and the stem.
Make sure your cookie are completely dry before painting them with the gel colours. I like to allow my cookies to dry over night. Even if the cookies look dry and are dry to the touch, the added moisture from the water/alcohol can cause cracks or dents in your cookie.
When painting sugar cookies I use Wilton brand gel colours, a variety of small clean food only paint brushes that I purchased from my local craft store and either water or some form of clear alcohol (such as white rum or vodka).
Royal icing can only take so much moisture before it starts to crumble and create holes or bubbles within the frosting. This makes it difficult to layer your colour or build up a design on the cookie. I find that using a clear alcohol typically produces better results then using water as it evaporates faster from the cookie.
Use paper towel or an extra flooded cookie to test out your colour blends before painting your actual cookies
For more tips on decorating with Royal Icing - check out this post.

Tulip Sugar Cookie Bouquet Tutorial
You'll Need
2-3 dozen sugar cookies in tulip and leaf shapes
12 inch pipping bag
coupler
Small Round Pipping Tip (like Wilton 3)
Paint pallet (or plate)
Gel Colours ( I used Wilton Pink, Christmas Red, Peach, Leaf Green, Yellow and Orange)
water or clear alcohol
paint brush (only used for food)
Brown Kraft Paper or Burlap
Ribbon
Directions
With your royal icing at a flood consistency (around 10 second icing), flood your tulip cookies in three parts, allowing the icing to dry or set up for 15-20 minutes in between each part. This will give the cookie dimension. First flood the left petal, allowing the icing to dry slightly before flooding the right. Finally flood the middle petal and the stem. Outline and flood the leaves.
Allow the cookies to dry completely before moving onto the next step.
Add your gel colours to your pallet. Using your paint brush and the water or alcohol, thin and blend your gel colours as you would water colour paints, until you reach your desired shades.
Paint your tulip and leaf cookies as desired. Allow the paint to dry completely before packaging cookies into bouquets.