Simple, beautiful with a touch of sparkle these gilded pumpkin and leaf sugar cookies will bring sophistication and style to any autumn dessert table or gathering.
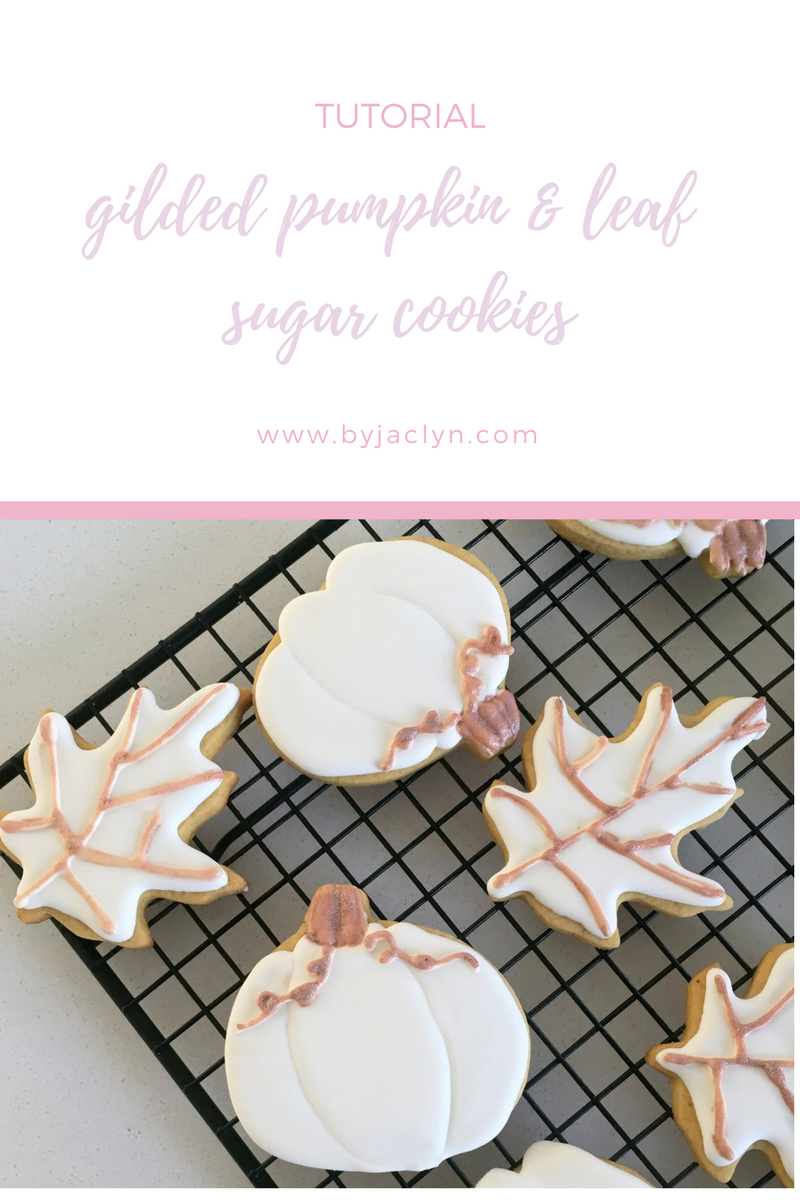
The ghost pumpkin trend combines my love of all things neutral and fall! I have been seeing ghost pumpkin sugar cookies popping up all over my Instagram feed for the past couple of years now and I knew I wanted to to hop onto this bandwagon. I actually first made aversion of these decorated pumpkin sugar cookies last year but I updated them this year using a bronze luster dust instead of the lighter gold that I used last year. I used my Pumpkin Spice Sugar Cookies with Maple Royal Icing recipe instead of a traditional sugar cookie recipe to really up the fall factor. These sugar cookies have a beautiful simplicity about them with just the perfect hint of sparkle.
When it comes to decorating cookies using royal icing patience and practice are definitely key factors. The more sugar cookies I make, generally the better they turn out (usually, as long as I am patient). I have learned that keeping it simple also helps! These cookies are relatively simple to decorate making them perfect for beginners! Be sure to give yourself enough time to decorate these cookies, having patience and allowing the royal icing to dry or set up between steps will help you achieve a better result overall. I made and decorated these cookies over a three day period. I baked, outlined and flooded the cookies on the first day, added the royal icing details on the second and painted the luster dust on the third.
The Cookies
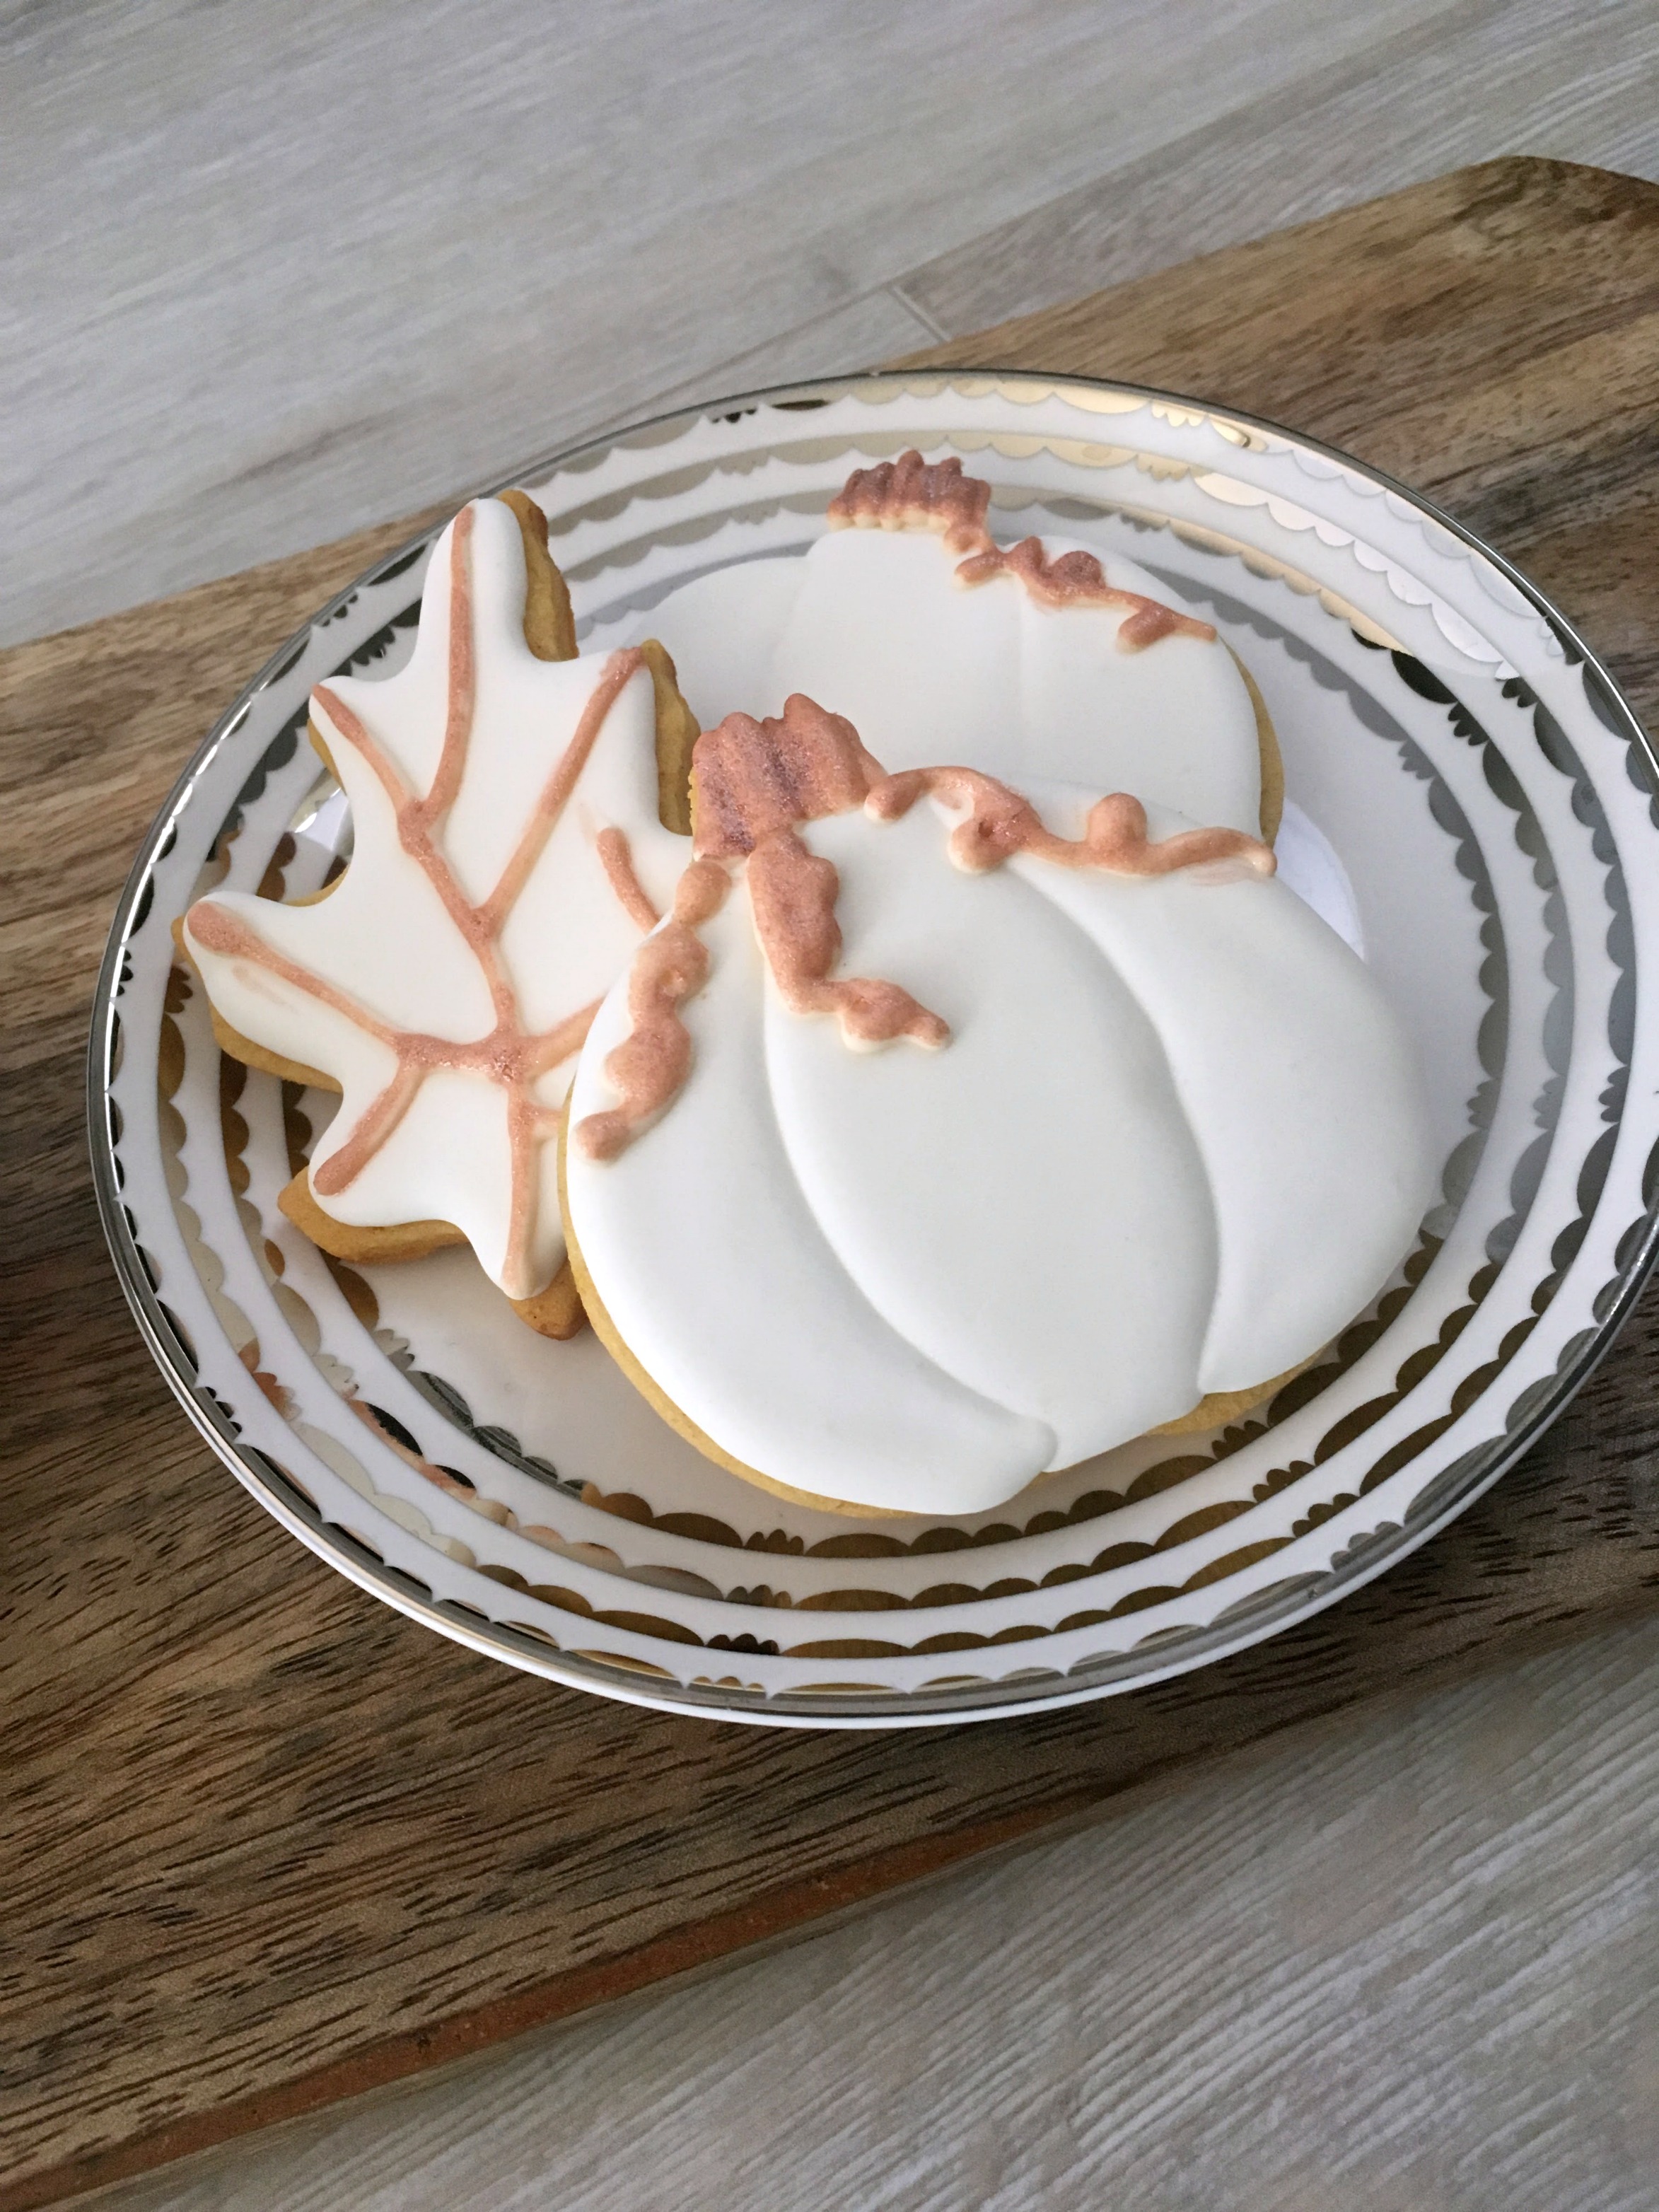
I like to use one consistency icing when outlining and flooding my cookies. The icing consistency I use is in between a typical flooding and outlining consistency. It will hold its shape when I outline but it is still fluid enough that by lightly shaking the cookie it will settle and dry smoothly. I used a wilton tip 3 to outline the flood the cookies. When flooding the pumpkin cookies start by outlining and flooding the centre part, allowing it to dry for 15-20 minutes before I go back and flood the sides. By flooding the pumpkin cookie in stages you will be able to create the "sections" of the pumpkin achieving a more natural look.
Once the main part of the cookie was completely dry (4 hours - overnight) I added the stem and vine details, using an ivory coloured royal icing. For the details I used a wilton sized tip 1. For the pumpkin cookie, I wanted a textured stem. I left some space in between the lines of the stem and went back to fill them in later. You can watch the video below to get a better idea of what I mean.
Using Luster Dust
Luster dust adds a beautiful colour and shine to your cookies. For these cookies, I mixed my luster dust with a small amount of vodka to achieve a paint consistency. I usually use a clear alcohol when painting with luster dust but I know others use water, lemon juice or clear vanilla extract - use whatever works best for you or what you have on hand.
You Will Need:
White Royal Icing
Piping Bags
Couplers
Wilton Tips 1 & 3
Wilton Ivory Gel Colour
Bronze Luster Dust
Water, Lemon Juice or Clear Alcohol
Small, food safe paintbrush
Directions: