• About
  • Recipe Index
  • Blog
  • Contact
Menu

by Jaclyn

Street Address
City, State, Zip
Phone Number

Your Custom Text Here

by Jaclyn

  • About
  • Recipe Index
  • Blog
  • Contact

8 Tips for Decorating with Royal Icing

December 13, 2017 Jaclyn
8 Tips for Decorating with Royal Icing

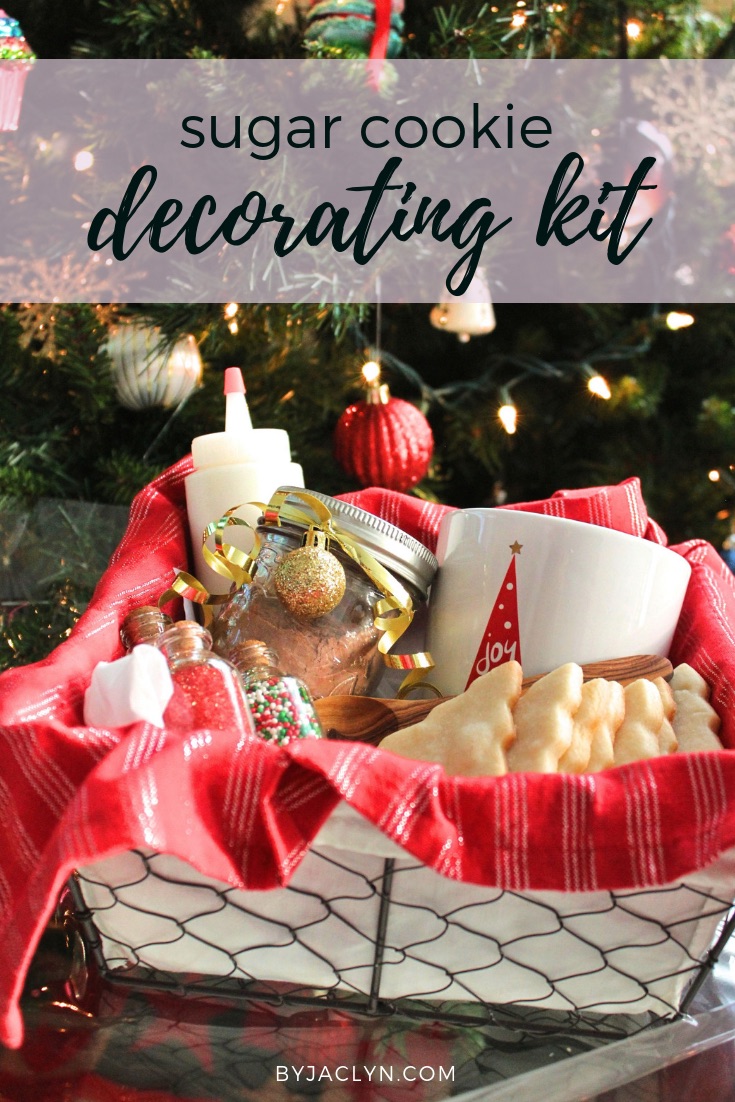
Tis the season for sugar cookies! I love sugar cookies because they are perfect for any occasion, however, I definitely make more than usual around the Christmas season. I thought I would share some of my tips for decorating with royal icing. I shared my recipe for royal icing in a previous post but I thought today I would take the time to share some more tips for decorating with it. I know it can be super frustrating when the image you have in your head doesn't quite translate into the perfect looking cookie. These are a few things I try to keep in mind when decorating cookies - year round.  

IMG_4021.JPG IMG_4025.JPG IMG_4037.JPG

Tips for Decorating with Royal Icing 

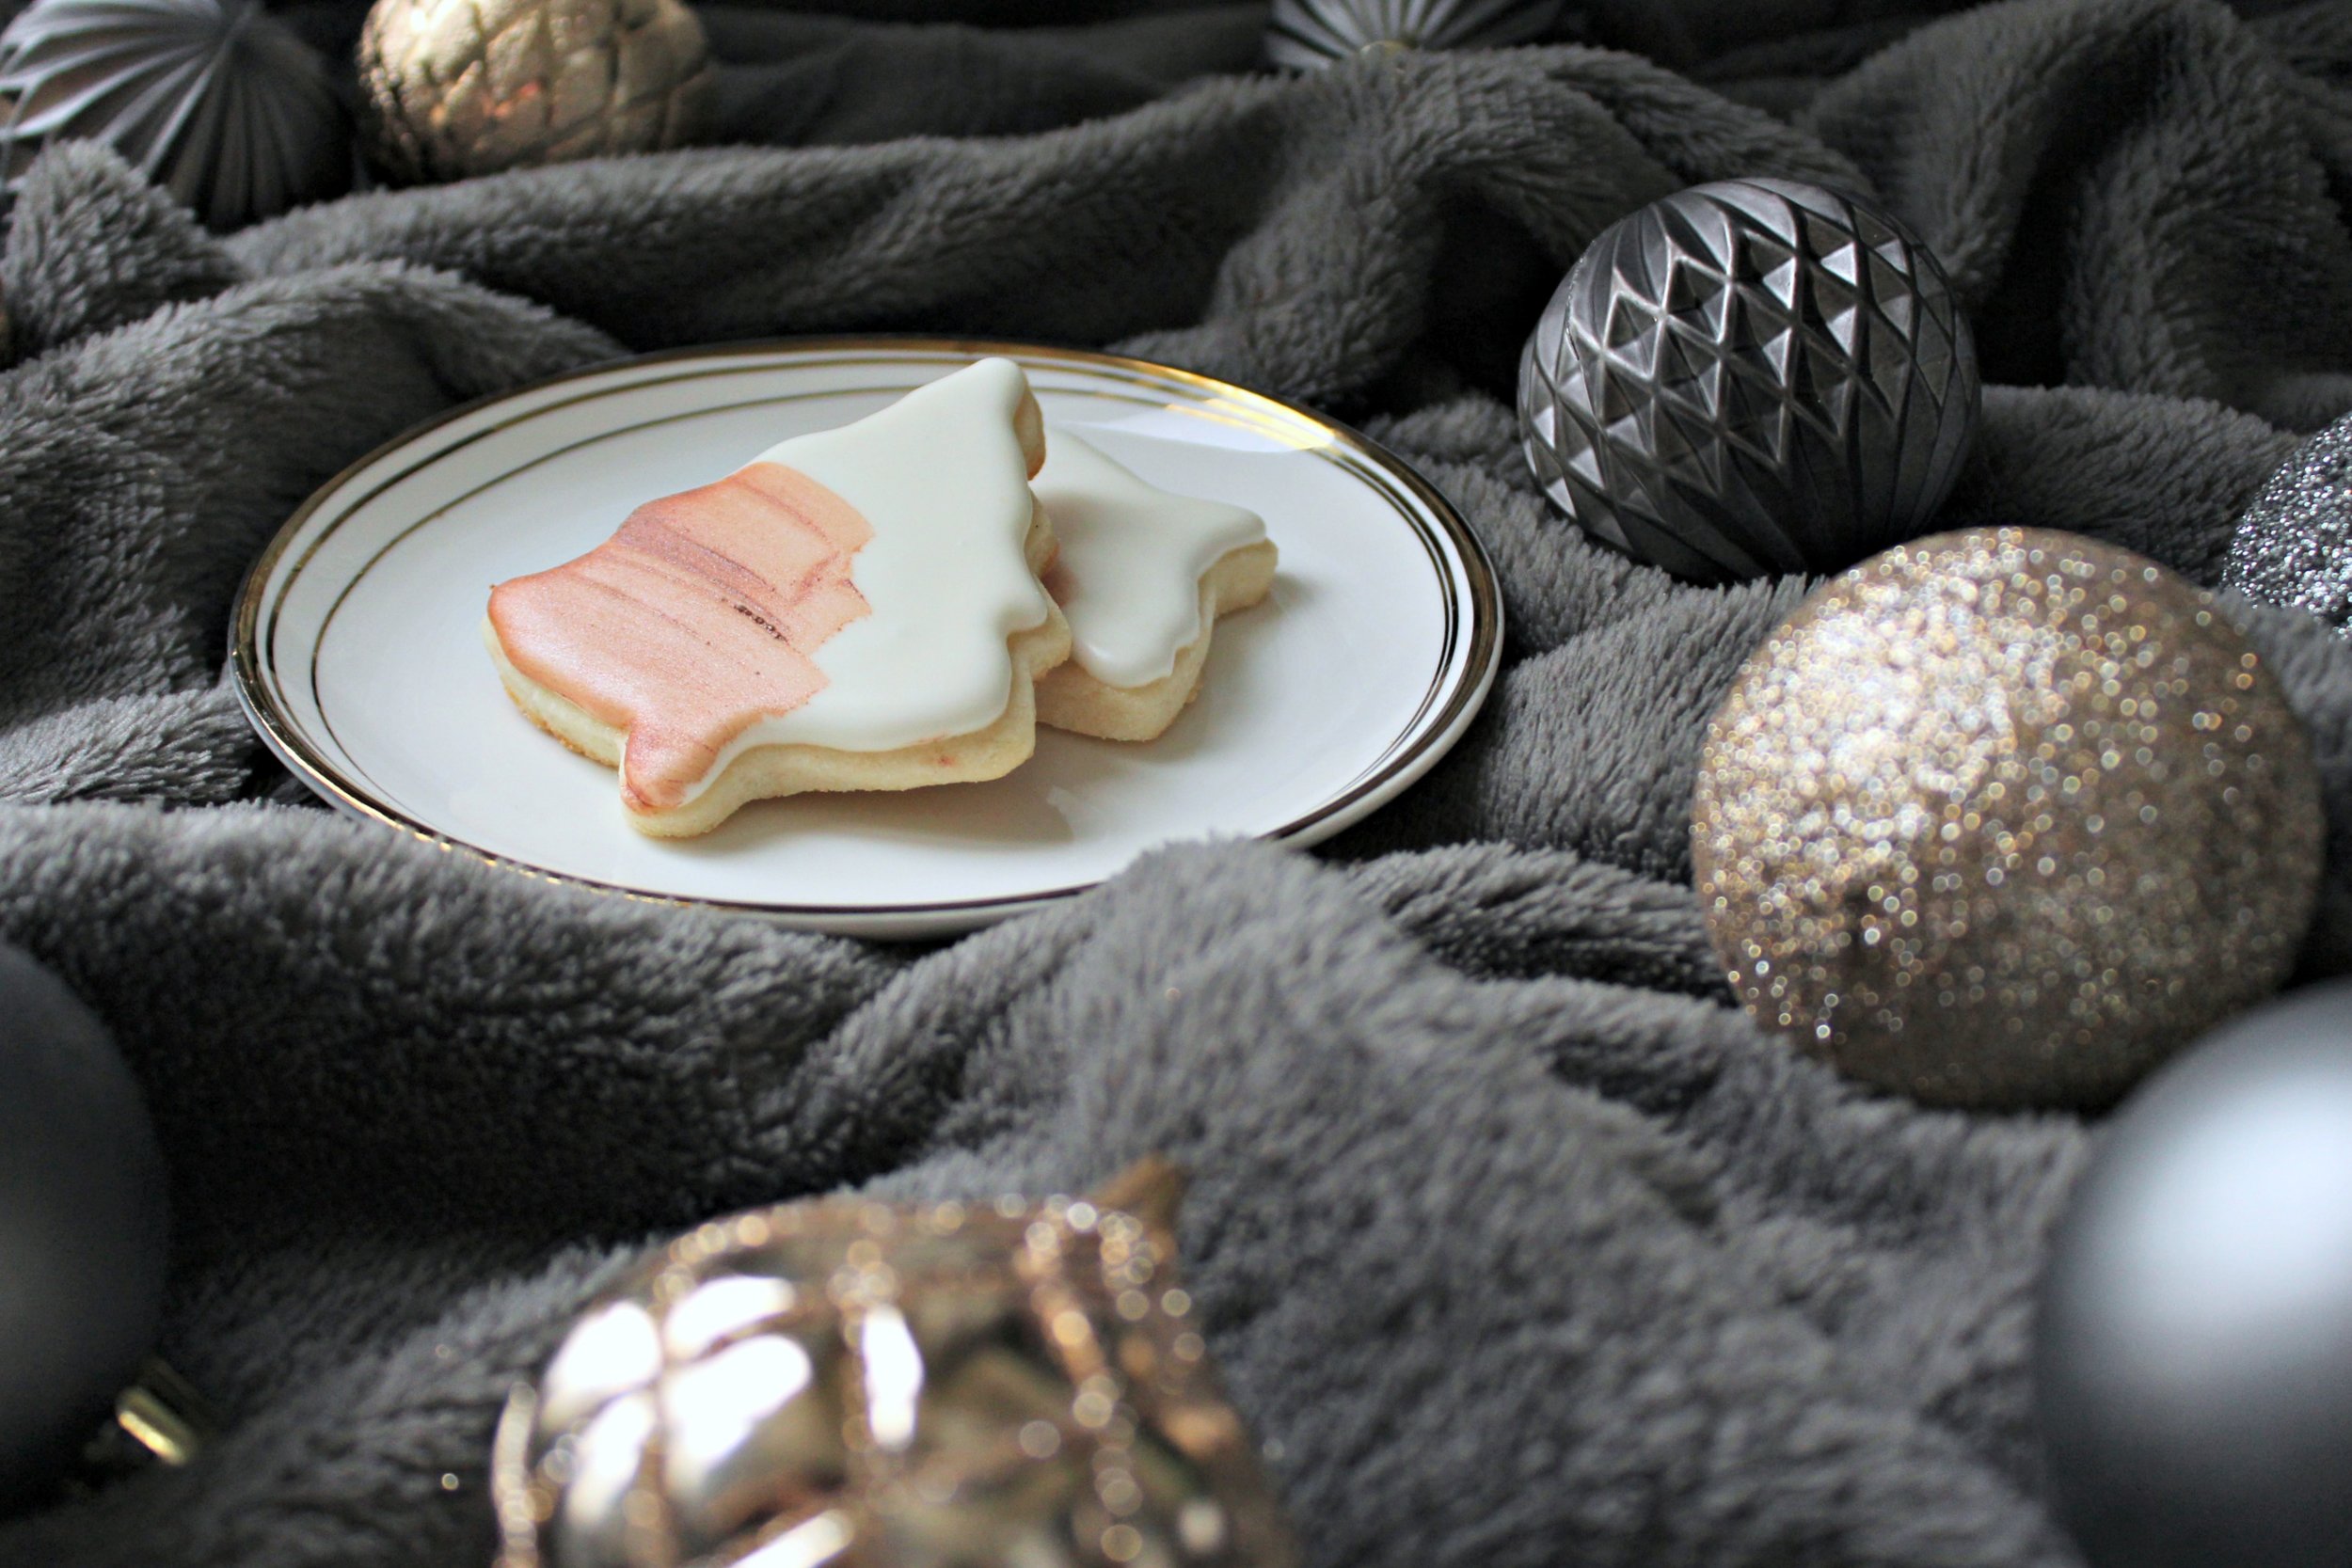
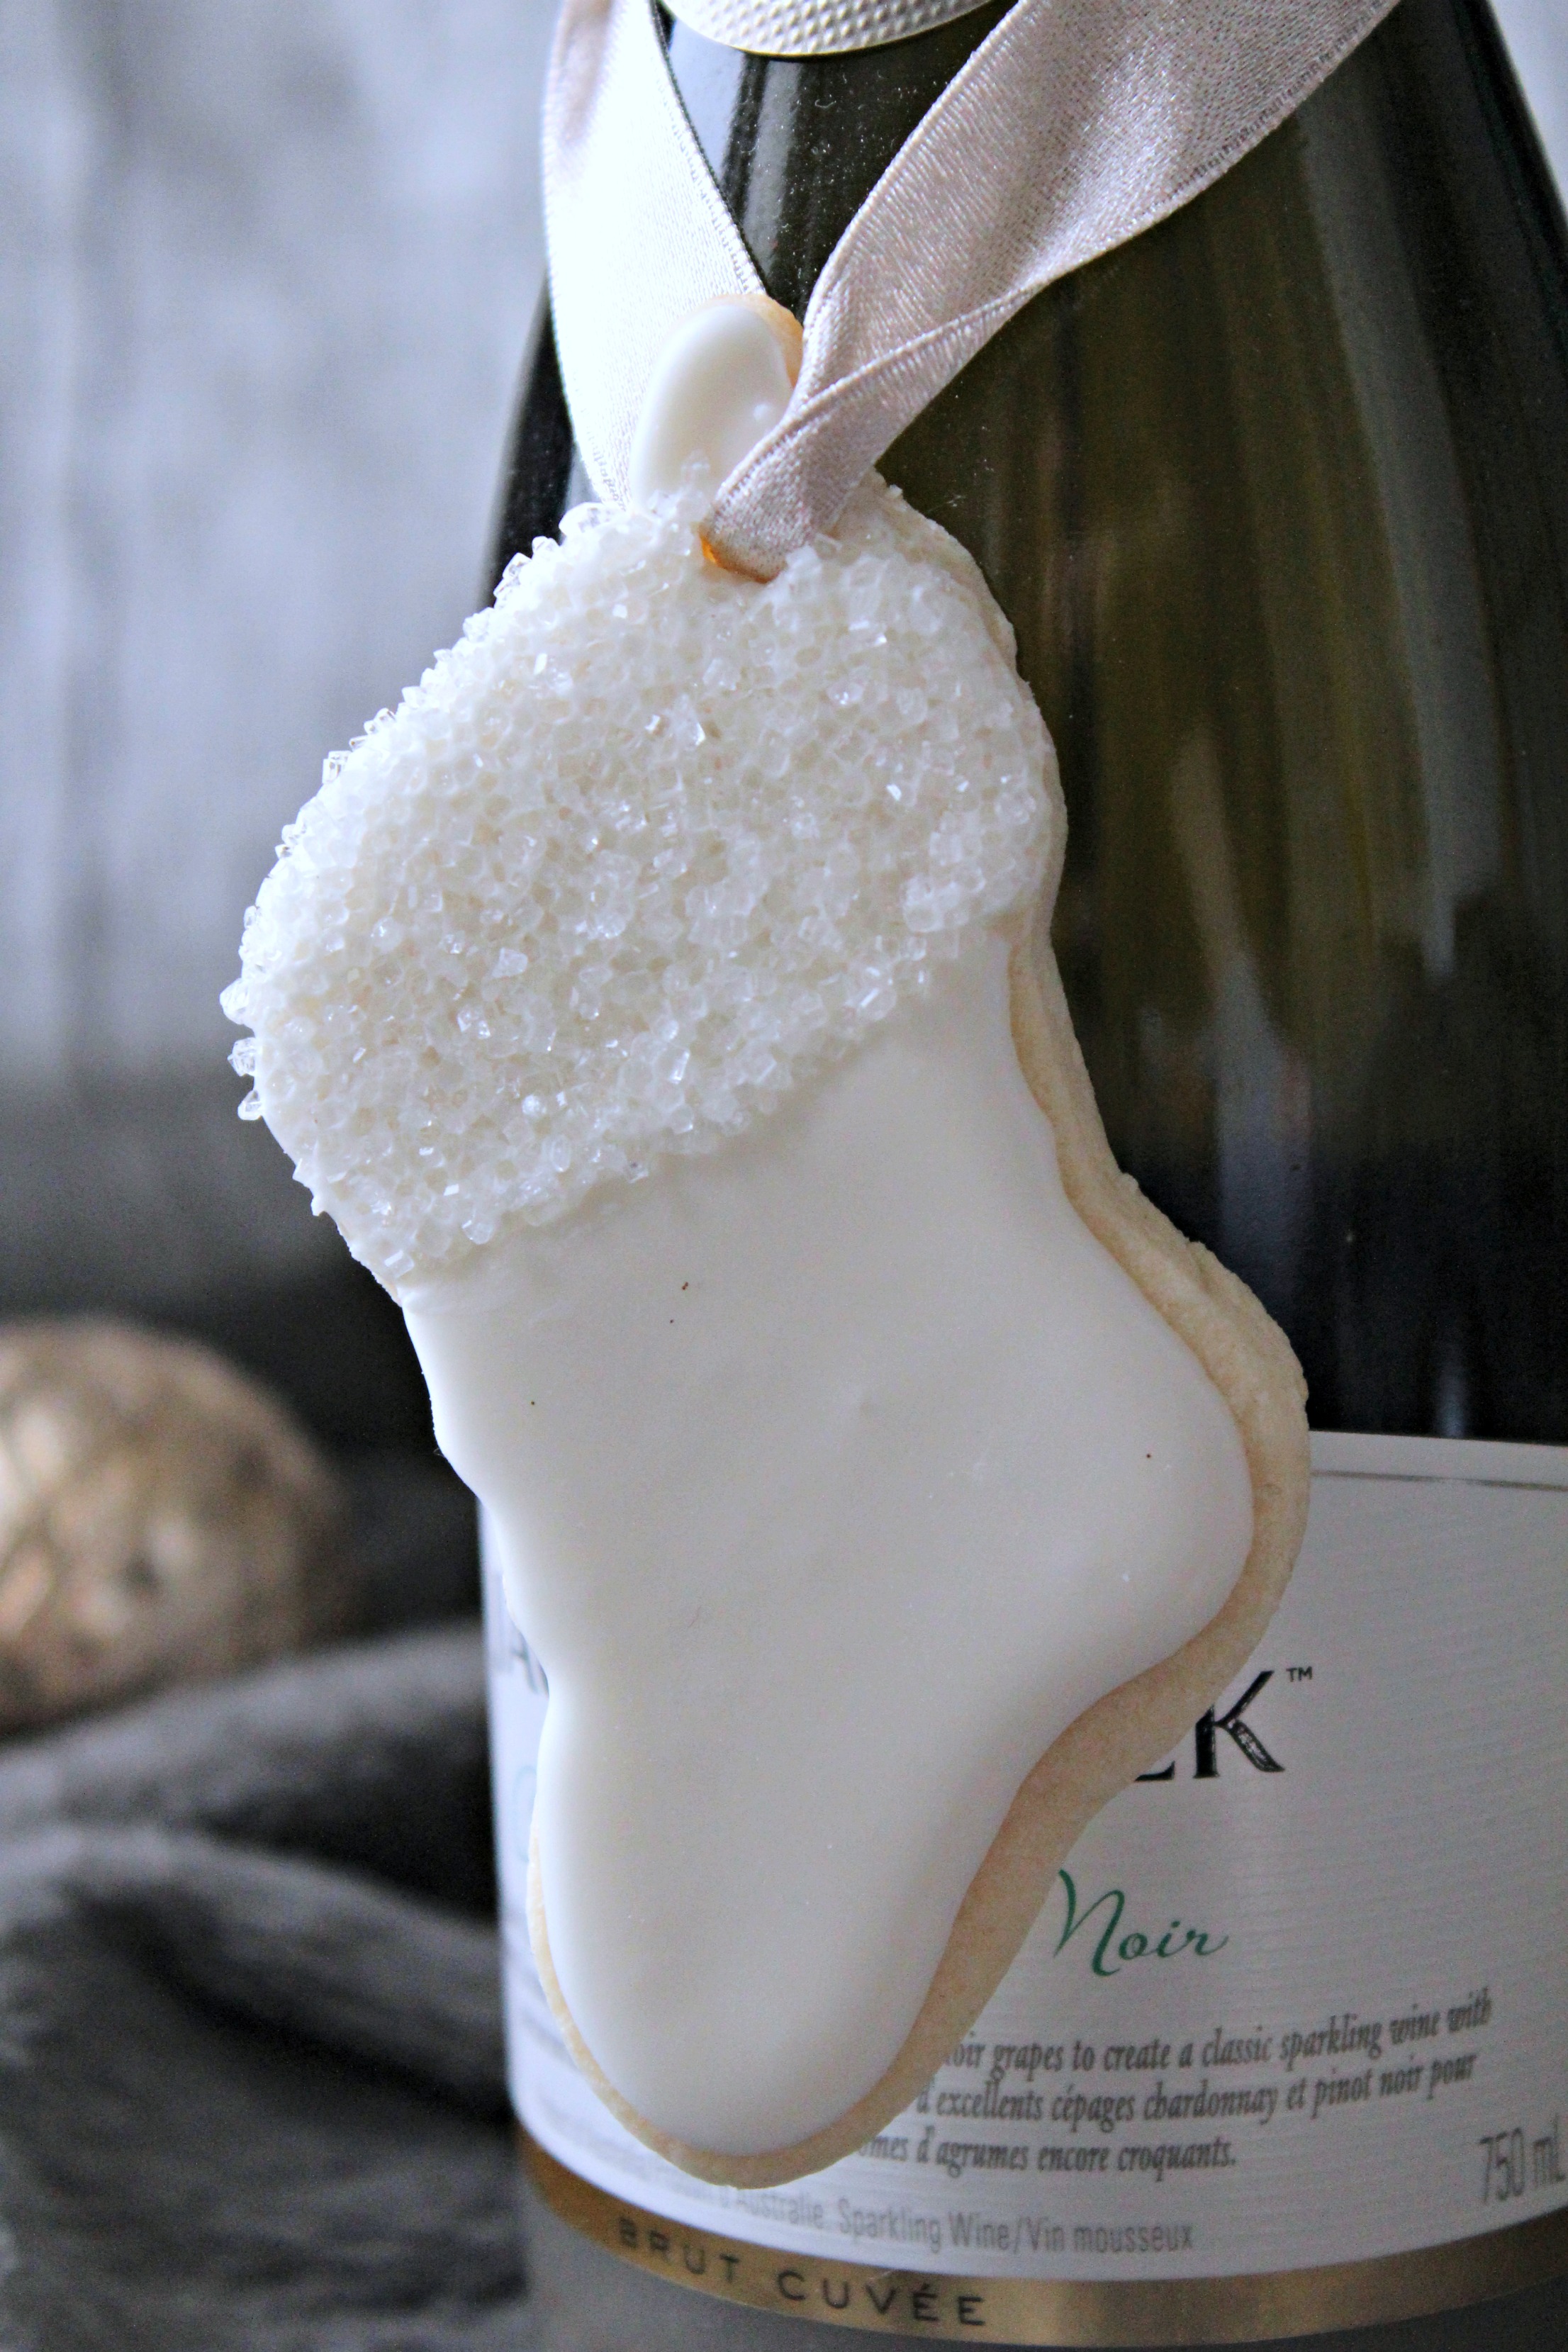
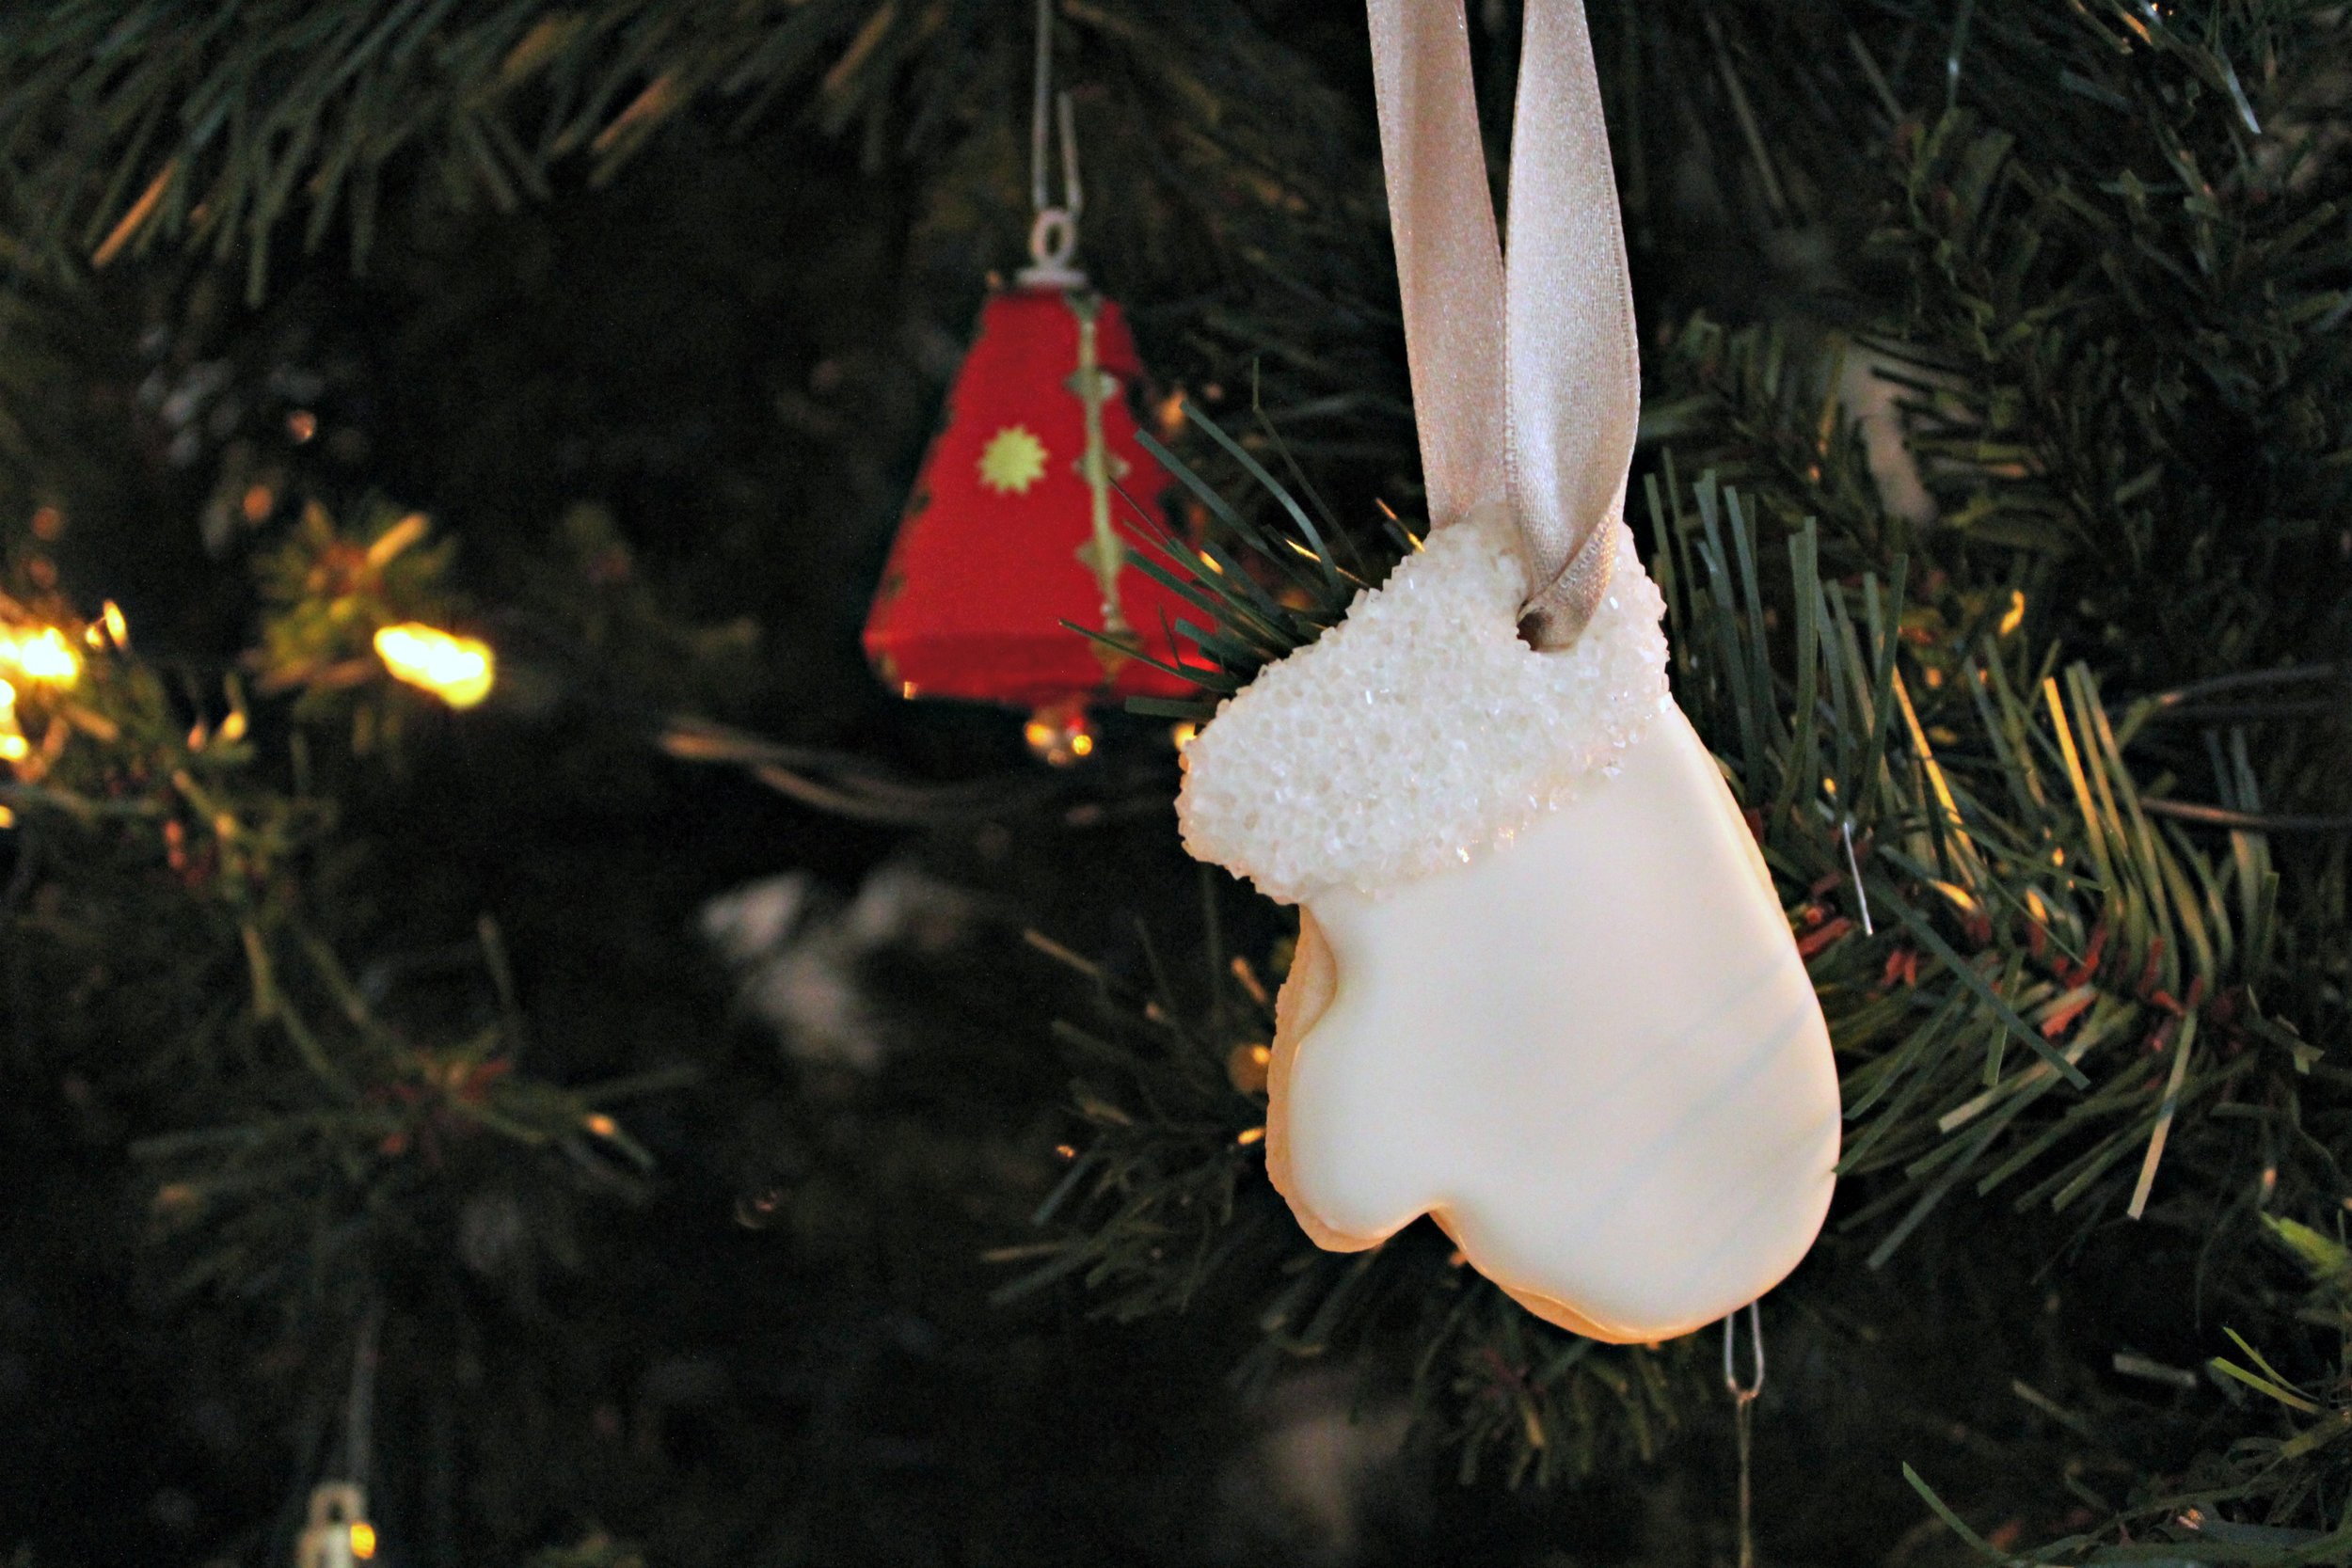
 1. Icing consistency is key

Your desired icing consistency will depend on if you are flooding, outlining or adding detail to your cookie. Add additional water slowly (think 1/2 a teaspoon at a time) until your desired consistency is reached. I typically use a 10 second consistency icing to outline and flood my cookie. I will use a slightly thicker consistency when adding detail to my cookies.

2. Keep your icing covered when not in use

Royal icing drys out quickly, be sure to keep it covered either with plastic wrap or a clean damp tea towel. This prevents it from crusting over or drying out.  

3. Use gel colours to tint your royal icing

Gel colours will not effect the consistency of the icing.  Remember a lot goes a long way. Your icing will also darken over time so you will need even less then you think you do. I add my gel colours to my icing using a clean toothpick. Be sure to use a new clean toothpick each time as you don't want to contaminate your gel colours.

4. Always make more of a colour than you think you'll need

It is really difficult to exactly match a colour that you have previously made. Making more of a colour than you think you will need eliminates the stress of running out of a particular colour of icing and having to try and match it. Save yourself the headache and just make a bit more to begin with. 

5. Sketch or write out a game plan

If I am creating multiple different cookies in a set I will often sketch out a rough idea of how I am going to decorate my cookies. This allows me to see how many different colours I will need to make and the number of steps 

6. Simplify when possible

Once you create your game plan, look for ways to simplify your design. I always look to see if I can eliminate a colour or step and still achieve the overall results that I am looking for.  I try to limit my designs to 3-4 colours. I find this creates a more cohesive set and as a bonus it reduces the amount of colours & piping bags I have to create 

7. Give yourself enough time

While you could make and decorate your cookies all in one day, I like to space it out. I work backwards from the number of steps in my game plan to determine how many days I will need to make my cookies without going crazy! Ha. I typically take 3 days to make a set. One day to make the dough and bake the cookies, one day to flood the cookies and another to add the detail. Trying to add details to soon or flood a warm cookie just leads to frustration.  

8. Storing your Royal Icing

If you ran out of time, or made more icing than you need. Not to worry. You can store your icing. Royal icing made with meringue powder stores wonderfully, in an air tight container on the counter. I put a layer of plastic wrap directly on top of the icing to keep it from crusting over, and then put my lid on top. It will last for over a week on the counter. The icing will start to separate and probably won't be at a perfect consistency when you go to use it again. Just pop it back in your mixer for a few minutes for it reincorporate and add small amounts of additional water as necessary to get it back to your desired consistency.

Happy decorating! 

Featured
Red Velvet Cookie Sandwiches
Sugar Cookie Decorating Kit
Tulip Sugar Cookie Bouquet Tutorial
8 Tips for Decorating with Royal Icing
In Christmas, Cookies, Sugar Cookies, Tutorial Tags tips, royal icing, Sugar Cookies
Comment

Royal Icing Recipe

April 27, 2017 Jaclyn
Royal Icing Recipe

Its no secret that I love sugar cookies. Their buttery deliciousness and versatility mean that they are one of the most made recipes in my kitchen. However, I didn't always love making sugar cookies. In fact the first time I made them it was a complete disaster. The cookies didn't hold their shape when baked and to make matters worse the royal icing was a runny mess. It was completely frustrating and I felt totally defeated. I even wrote across the top of the printed out recipe "NEVER AGAIN".  Of course I eventually made sugar cookies again. I've learned a lot since first making those unfortunate sugar cookies. 

Royal icing can be intimidating. If you've scrolled through #sugarcookies on Instagram you have no doubt seen the beautiful works of art created by many talented cookie artists. I can spend hours watching cookie decorating videos. They are just so mesmerizing. What those short, sped up videos don't always portray is the amount of time that goes into creating each cookie masterpiece. Every hand painted or hand piped detail takes time. Now multiply that across however many dozen cookies. 

All that being said, you have to start somewhere.  Remember, it's just a cookie. Even it looks awful, it will taste great.  My boyfriend loves the "reject" cookies because it means he gets to sample them before whatever event they are meant for.  If you are new to Royal Icing I would definitely recommend keeping your design simple. The more complex the design and the smaller the detail the larger the margin of error.  

The most important thing in my opinion when decorating with royal icing is the consistency of your icing. If your icing is too thin it will just run everywhere creating a big mess. However, if you are trying to flood (fill) a cookie with a stiffer icing meant for outlining it will take forever and it won't smooth over nicely. Some cookie decorators like to create a stiffer icing consistency for outlining their cookie and a thinner one for flooding. I typically use the same icing for both outlining and flooding. The recipe below is the one I use to outline and flood my cookies. If you'd like a stiffer icing reduce some of the water.  From this base recipe I typically have to add additional water to thin out the icing until my desired consistency is reached. I aim for a 10 second frosting - when you drag a knife through the frosting it takes 10 seconds for the line to disappear. The amount of water I have to add typically depends on the time of year as the levels of humidity can effect your frosting.

Royal Icing Recipe

Ingredients
3 tbsp meringue powder
1/2 c warm water
500g powdered sugar
Directions
In the bowl of stand mixer, combine meringue powder and water. Whisk by hand until slightly foamy
Fit stand mixer with paddle attachment. Add all of the powdered sugar to meringue powder mixture. Cover mixer with a clean tea towel. Mix on low-medium speed for approx. 5 minutes
Add additional water in small increments (half a teaspoon at a time) until desired consistency is reached
Royal Icing Recipe and Top Tricks & Tips for working with Royal Icing
Related Posts
Red Velvet Cookie Sandwiches
Sugar Cookie Decorating Kit
Tulip Sugar Cookie Bouquet Tutorial
8 Tips for Decorating with Royal Icing
In Sugar Cookies, Recipe Tags royal icing, recipe, Sugar Cookies
Comment
HiJaclyn
Letsgetsocial
Free Sugar Cookie Planning Workbook
PopularPosts
Featured
Strawberry Champagne Cake
Double Chocolate Donuts
Red Velvet Cookie Sandwiches
Follow on BlogLovin

Sweet Updates

Sign up with your email address to receive a FREE Sugar Cookie Planning Workbook

We respect your privacy.

Thank you!
instagram
Oh heyyy long weekend 🥰 
#byjaclyn #baking #love #bakinglove #sobestfriendsforfrosting #theeverygirl #delighful #canadianblogger #foodie #foodblogger #buzzfeedfoods #thekitchn #thatsdarling #instafood #foodblogfeed #buzzfeast #gastropost #sugarcooki
London Fog is my favourite ice cream flavour. What's yours? ⁠
⁠
Ps. You can find the recipe for this London Fog Ice Cream on my blog. ⁠
⁠
#byjaclyn #baking #love #bakinglove #sobestfriendsforfrosting #theeverygirl #delighful #canadianblogger #foodie
A fun twist on lemon meringue - these delicious cream puffs are filled with a bright and light lemon curd filling and topped with a golden meringue crown. Find the recipe on the blog! ⁠
⁠
⁠
#lemonmeringue #lemon #creampuff #lemoncurd ⠀⁠
#byjaclyn #ba
Wedding season is in full swing! Its hard to say no to a cookie 😉 Cookies are always a fun way to ask your bride tribe!💍⁠
⁠
#watercolourcookies #decoratedcookies #byjaclyn #weddingseason #theknot #ilovebaking #lovetobake #royalicing #fancycustomcoo
I had so much fun playing with different colours and textures in creating this palette knife cake. It was awesome getting outside my comfort zone and trying something new. Thank you Lindsay from @theflourgirl_ for organizing this fun collab! Be sure
When I first saw this tulle skirt I knew that I had to wear it to my bridal shower! But I could resist trying it on and wearing it for a photoshoot first! ⠀
⠀
⠀
#baker #byjaclyn #dessertartist #kitchentour #femaleentrepreneur #theinstagramlab #foodie

Sweet Updates

Sign up with your email address to receive a FREE Sugar Cookie Planning Workbook!

We respect your privacy.

Thank you!