S'more Cupcakes

Nothing says summer quite like a s'more! These chocolate cupcakes are topped with a rich chocolate ganache buttercream, graham cracker crumbs and a toasted meringue frosting

S'more Cupcakes: Chocolate Cupcakes with graham crackers crumbs and meringue frosting

I'm back! Did you miss me? I didn't mean to take such a long break between posting - but I am super excited to share these s'more cupcakes with you! I also have lots of other fun recipes to share with you over the next couple of weeks. I am so excited about all of the the delicious summer berries and stone fruits that are in season right now. But back to the cupcakes.

 After I made this Lemon Rosemary Meringue Cake, my mom surprised me with a kitchen torch! I was super excited...and a tiny bit nervous (have you seen those flames! haha) to try it out. I debated what to make first. But once the weather really started warming up, I knew that I wanted to make a twist on a summer time classic. One of my favourite things about summer is summer nights sitting around a bon fire with friends, roasting marshmallows and making s'mores. Nothing says summer more than s'mores.

These cupcakes are the perfect summer treat - great for a summer bbq, to celebrate the kids being done school or you know, just because. They have all the elements of a s'more - just in cupcake form! The chocolate cupcake base is one of my favourite go to recipes - slightly modified. It is moist and full of chocolate-y flavour. The chocolate ganache frosting is rich, smooth and creamy - I could eat it with a spoon! the crushed graham crackers add texture to the cupcake. The shinning star of these s'more cupcakes however, is the meringue frosting. It is sweet and sticky - just like a marshmallow. It also browns beautifully.  There is no doubt about it - these cupcakes are visually stunning. The combination of the different textures and flavours makes you want to dive right in and of course have s'more! 

S'more Cupcakes: Chocolate Cupcakes with graham crackers crumbs and meringue frosting

S'more Cupcakes

Makes: 2 dozen

Ingredients 

For the Cupcakes

1/2 c hot water 

1/2 c cocoa powder 

2 1/4 c flour 

1 tsp baking powder 

1 tsp baking soda 

1 tsp salt 

1c butter, cut into cubes

2 c sugar 

4 eggs, at room temperature

1 c sour cream 

For the Frosting

1/2 c chocolate chips 

1/4 c heavy cream 

1/2 c butter, at room temperature 

2 c icing sugar 

1 c crushed graham crackers

For the Meringue

4 egg whites

1 c sugar 

Directions

For the Cupcakes Preheat oven to 350F. Line cupcake pans with liners. In a small bowl, whisk together hot water, cocoa powder. In another medium bowl, sift together flour, baking soda, baking powder and salt. 

In a small sauce pan, over medium heat combine the butter and sugar. Stir occasionally, until the sugar is dissolved and the butter is melted. Remove from heat and pour into bowl of stand mixer fitted with paddle attachment. On medium, beat butter & sugar mixture until it begins to thicken and pales in colour (approx. 4-5 mins). You want to ensure the mixture has cooled slightly before adding your eggs. Add eggs one at a time, scrapping down the sides of the bowl after each addition. Add in cocoa mixture. Mix until incorporated.  With the mixer on low speed, add half the flour, followed by the sour cream, ending with the rest of the flour mixture. Mix until just incorporated.

Divide batter evenly into prepared cupcake liners. Fill liners 1/2-2/3rds of the way full.  Bake for 18-20 minutes, or until a toothpick inserted into the centre comes out clean. Let cool in pan for 5-10 minutes before transferring to a wire rack to cool completely. 

For the Frosting  In a small microwave safe bowl, heat the cream for 30-40 seconds or until almost boiling. Pour over chocolate chips and stir until melted, creating a chocolate ganache, set aside. 

In the bowl of a stand mixer, fitted with a paddle attachment, over medium to high speed, cream together butter and powdered sugar until light and fluffy. Beat in chocolate ganache until well incorporated.

For the Meringue  Over a double boiler heat together the egg white and sugar for 5 -7 minutes, whisking constantly. Transfer mixture to a clean stand mixer fitted with a whisk attachment. Whisk on high for 5 - 7 minutes or until stiff glossy peaks form.

To Assemble Fill pipping bag fitted with a large round tip (or coupler) with the chocolate ganache frosting. Pipe a boarder around the cupcake and roll in crushed graham crackers. Fill a second pipping bag fitted with a large star tip (Wilton tips 1M or 2D) with the meringue. Pipe meringue into the centre of the cupcake and brown using a kitchen torch.

 

S'more Cupcakes: Chocolate Cupcakes with graham crackers crumbs and meringue frosting

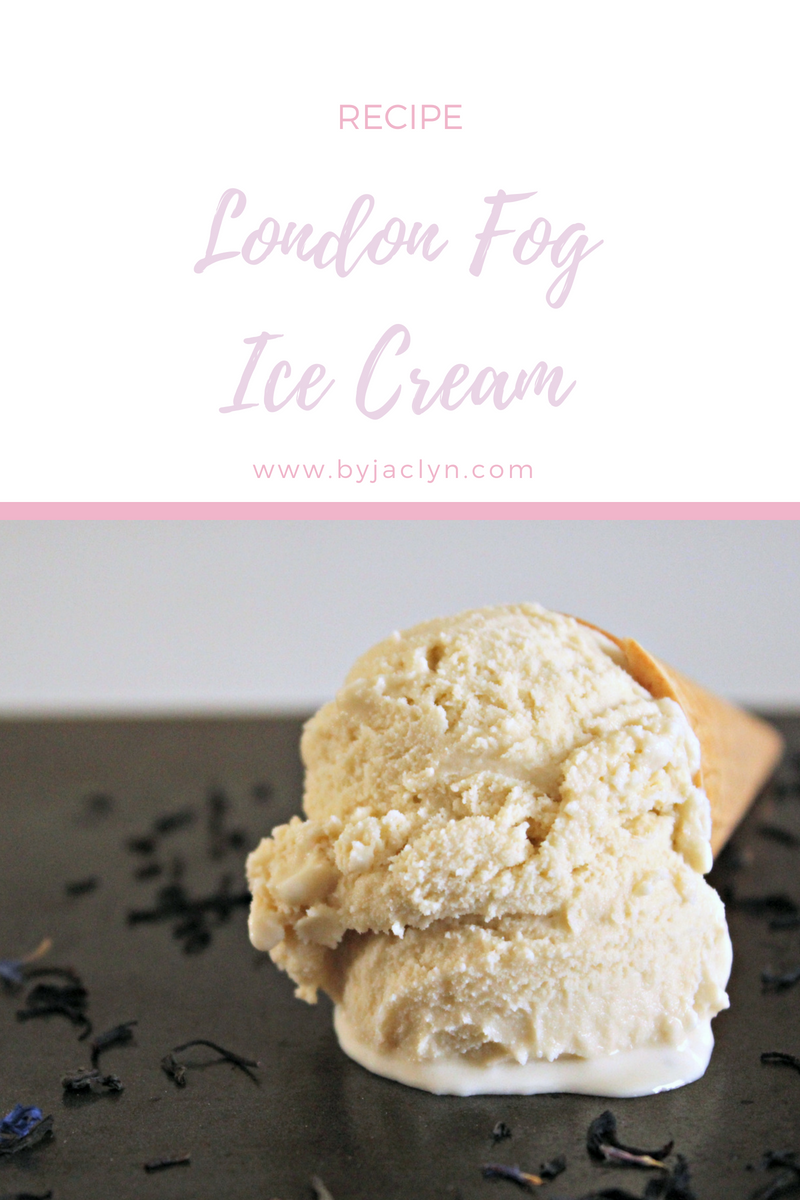
London Fog Ice Cream

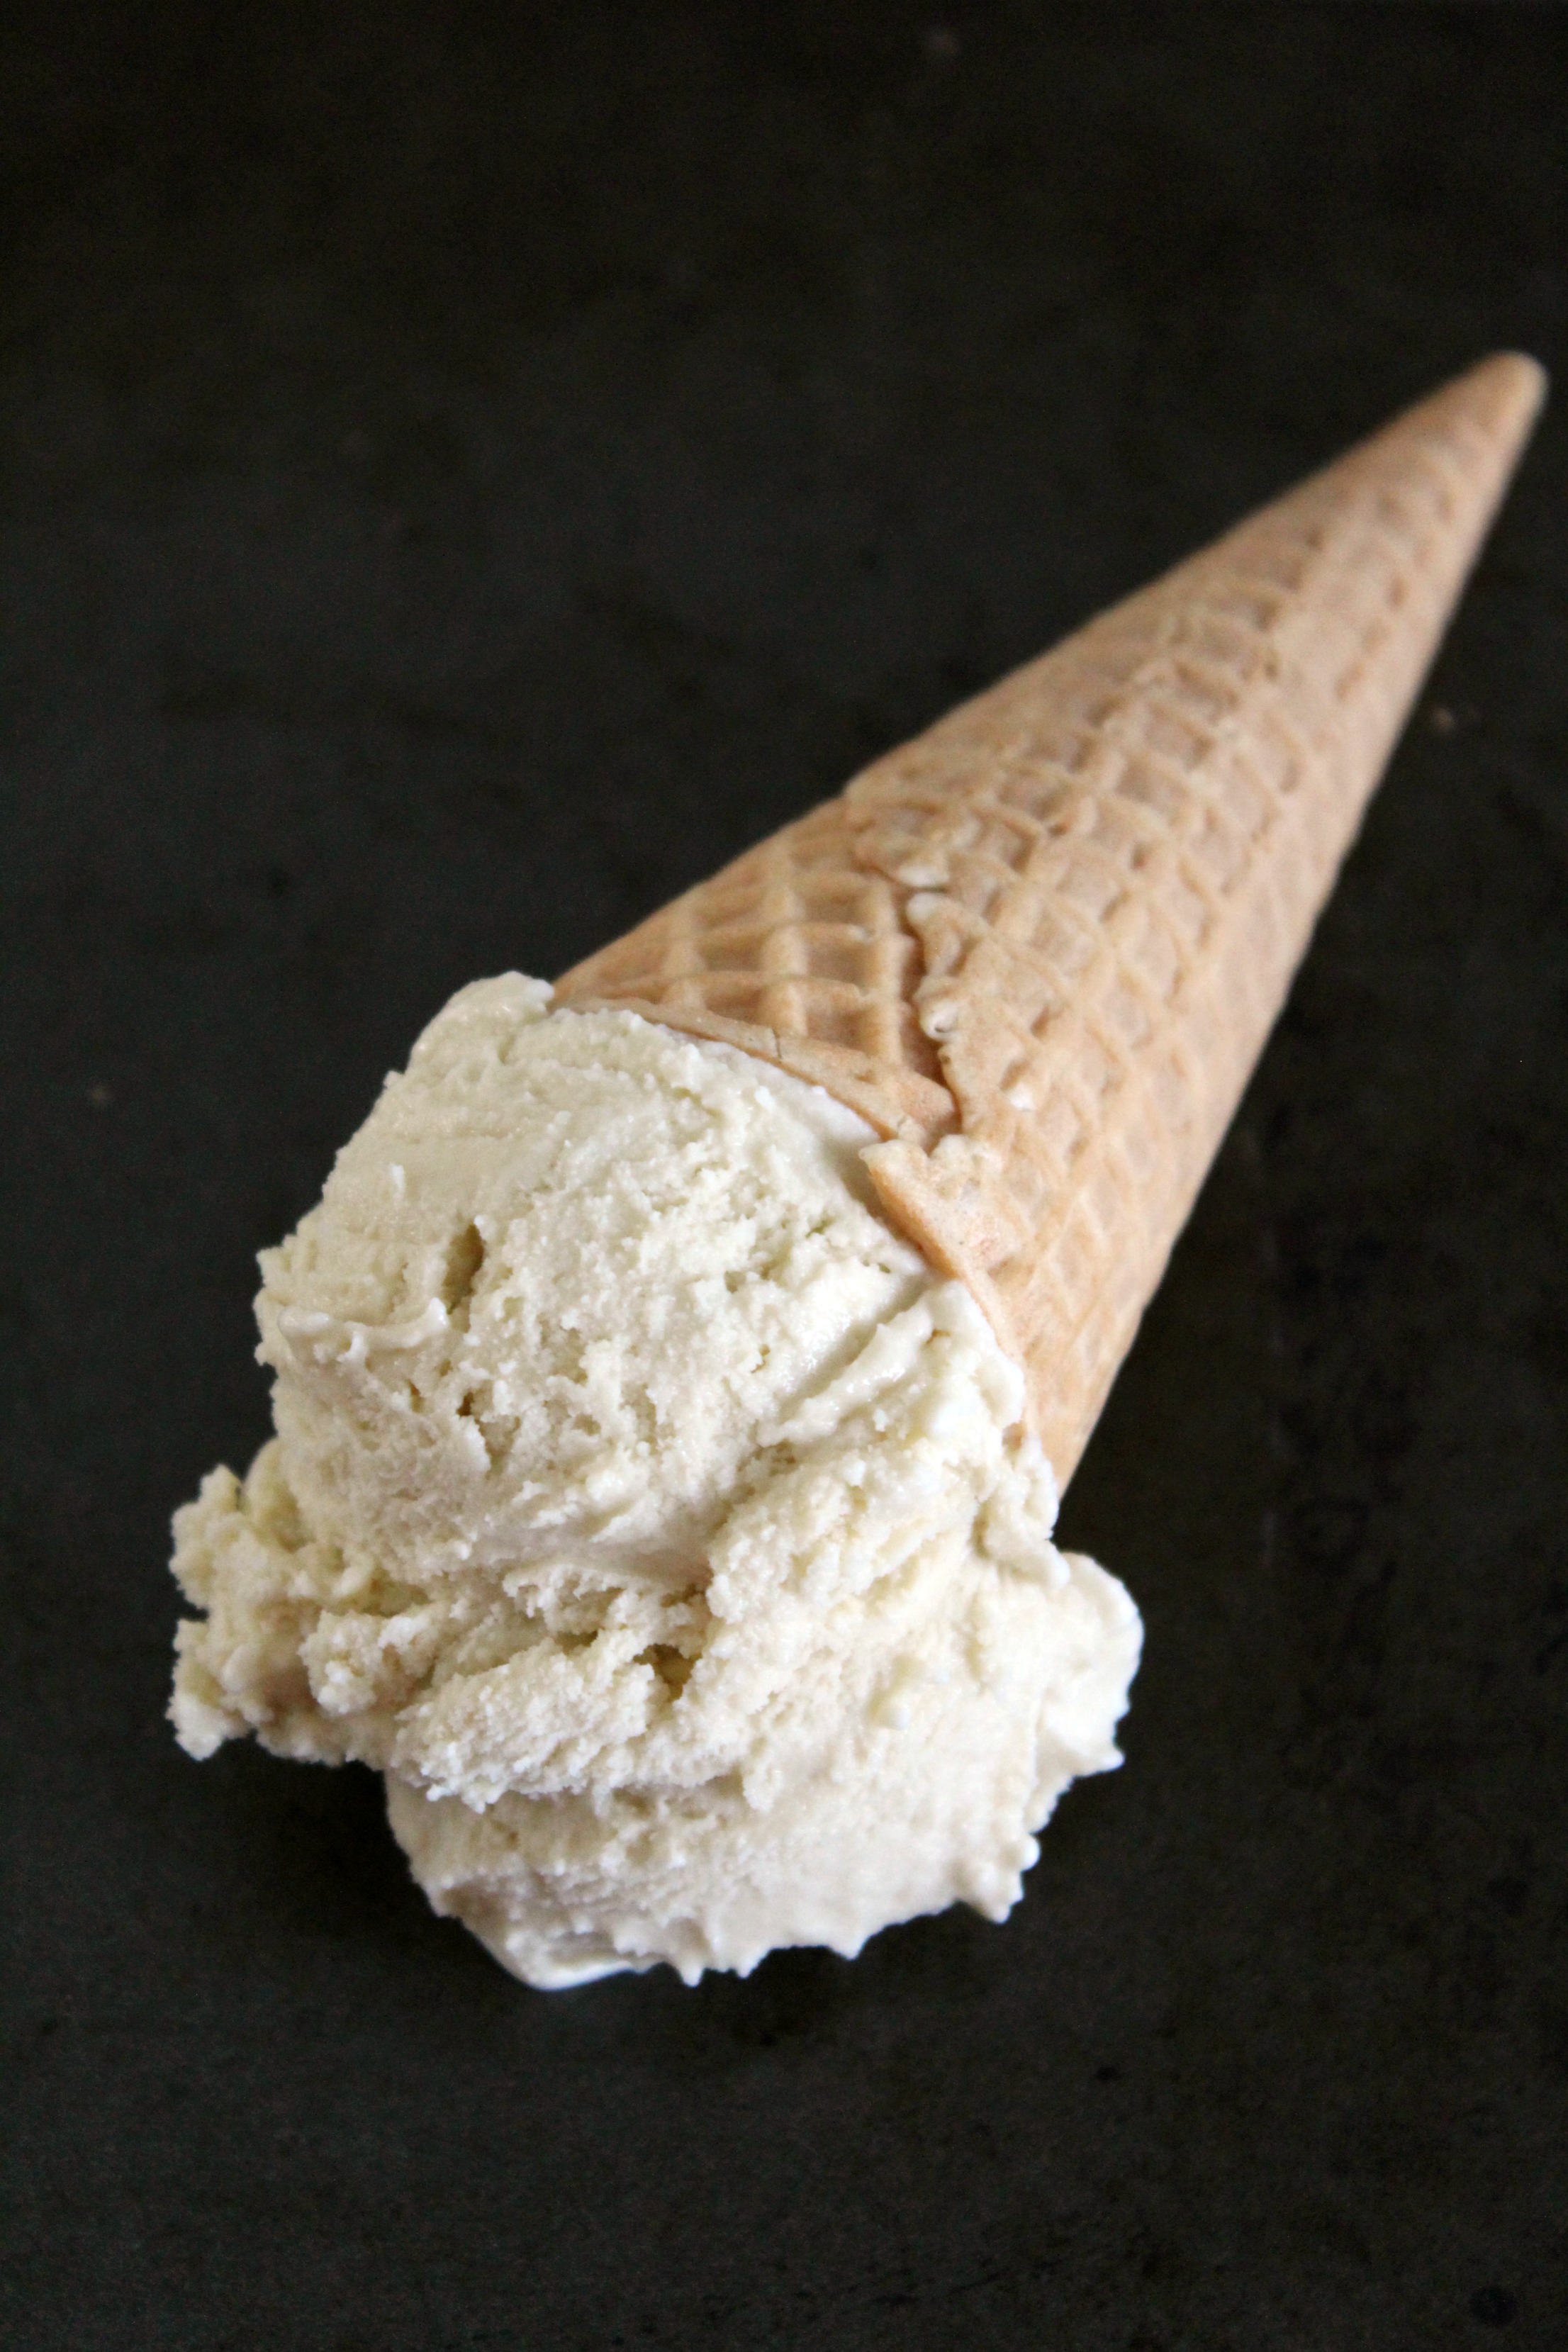
The Earl Grey tea with the hint of vanilla combined with the creaminess of the ice cream makes this London Fog ice cream hard to resist! 

London Fog Ice Cream - Earl Grey Ice Cream with a hint of vanilla 

Anyone else excited for the Royal Wedding this weekend? Personally, I cannot wait to see Meghan's dress! I love her style, and she is becoming such a style icon. I'll bet her dress is fabulous and will have an impact on wedding fashion for years to come. In honour of the Royal Wedding,  I made this delicious London Fog ice cream. 

I am a tea person. My shelves are filled with various varieties. From oolongs to matcha, I love them all but I always start my day with a cup of earl grey. I love a London Fog latte. The hint of vanilla with the bergamot in the tea and the creaminess of the milk - delish! One of my favourite little ice cream shops in town makes the most delicious London Fog ice cream and with their made in house cinnamon waffle cones it is heavenly! As soon as I opened my ice cream maker for Christmas, I knew that I wanted to recreate their London Fog ice cream at home. 

Ice cream always takes way longer to make then I expect. I alway forget about the multiple cooling times required to chill the custard and the ice cream. The ice cream bowl for your ice cream maker also has to chill for 12-15 hours! So while the active time for making ice cream isn't much, there is a lot of waiting around and anticipation for the finished product. Let me assure you that its worth it! Since the ice cream bowl for the mixer has to chill overnight, I decided to cold steep my earl grey in the milk overnight to extract the most flavour from the tea. By cold steeping, the tea maintains its flavour and doesn't get bitter over time. The finished ice cream has just enough Earl Grey flavour that you can identify the type of ice cream you are eating but it's not overpowering and the light vanilla flavour comes through as well. 

London Fog Ice Cream - Earl Grey Tea with a hint of vanilla

London Fog Ice Cream

Note: Place your ice cream maker bowl in the freezer the night before you plan to make the ice cream. The ice cream custard requires 4 hours of cooling before churring and an additional four hours in the freezer after its been churrned.

Ingredients

  • 1 ½ c milk

  • 6 tbsp loose leaf earl grey tea

  • 4 large egg yolks

  • ⅔ c sugar

  • 1 tsp vanilla extract

  • 1 ½ c heavy cream

London Fog Ice Cream - Earl Grey Tea with a hint of Vanilla

Directions:

The night before place your ice cream maker bowl in the freezer to chill. Combine cold milk and earl grey tea leaves. Allow to steep in the fridge overnight. Strain tea leaves before use.

In a medium bowl, whisk together the egg yolks and sugar until pale. The mixture will be a bright yellow at first but should pale with mixing.

In a medium saucepan, over low to medium heat, heat the tea infused milk and vanilla until lightly simmering, remove from heat.  To temper the eggs, ladle about half of the milk mixture into the egg mixture. Whisking constantly to avoid scrambling the eggs. Slowly pour the tempered egg mixture into the saucepan with the remaining milk mixture. Return the mixture to the heat, and stir slowly but consistently until the mixture has thickened enough to coat the back of a spoon. Remove from heat. Stir in cream.  Chill the mixture in the fridge for at least 3 hours or up to overnight.

Once chilled completely, transfer to ice cream maker and churn ice cream according to the directions of your ice cream maker. It should take around 20 minutes to churn your ice cream and will be finished when the ice cream has a soft serve consistency. Once churned, transfer ice cream to a freezer container. Freeze until solid (approx. 4 hours).

 
London Fog Ice Cream - Earl Grey Tea with a hint of Vanilla

Tulip Sugar Cookie Bouquet Tutorial

A quick and simple sugar cookie decorating tutorial to learn how to make a water colour tulip sugar cookie bouquet.

Learn how to make a water colour tulip sugar cookie bouquet perfect for spring

This is a fun and simple spring sugar cookie tutorial. It would make the perfect Mother's Day gift! It would also be appropriate for spring birthdays, Easter or a fun house warming present! Or you know just because! I love that the presentation makes it look like a luxurious bouquet of tulips. I like that with this method you do not have to add sticks to your cookies, which saves time. I decided to use the water colour technique to paint my cookies rather than tint the icing and flood the cookies one solid colour.  I think that by using the gel food colouring like paint it adds dimension to the cookies and gives them a more realistic look. This decorating technique is quick, simple and perfect for beginners. 

Tips for making a Tulip Sugar Cookie Bouquet 

  • Make sure your royal icing is a good flooding consistency. You will want it to be thin enough to flood your cookies, but not too thin that it runs everywhere! I like to use a 10 second icing for these cookies. That means that when I run an knife through my bowl royal icing it takes around 10 seconds for the line to disappear. The faster the line disappears the thinner the icing.

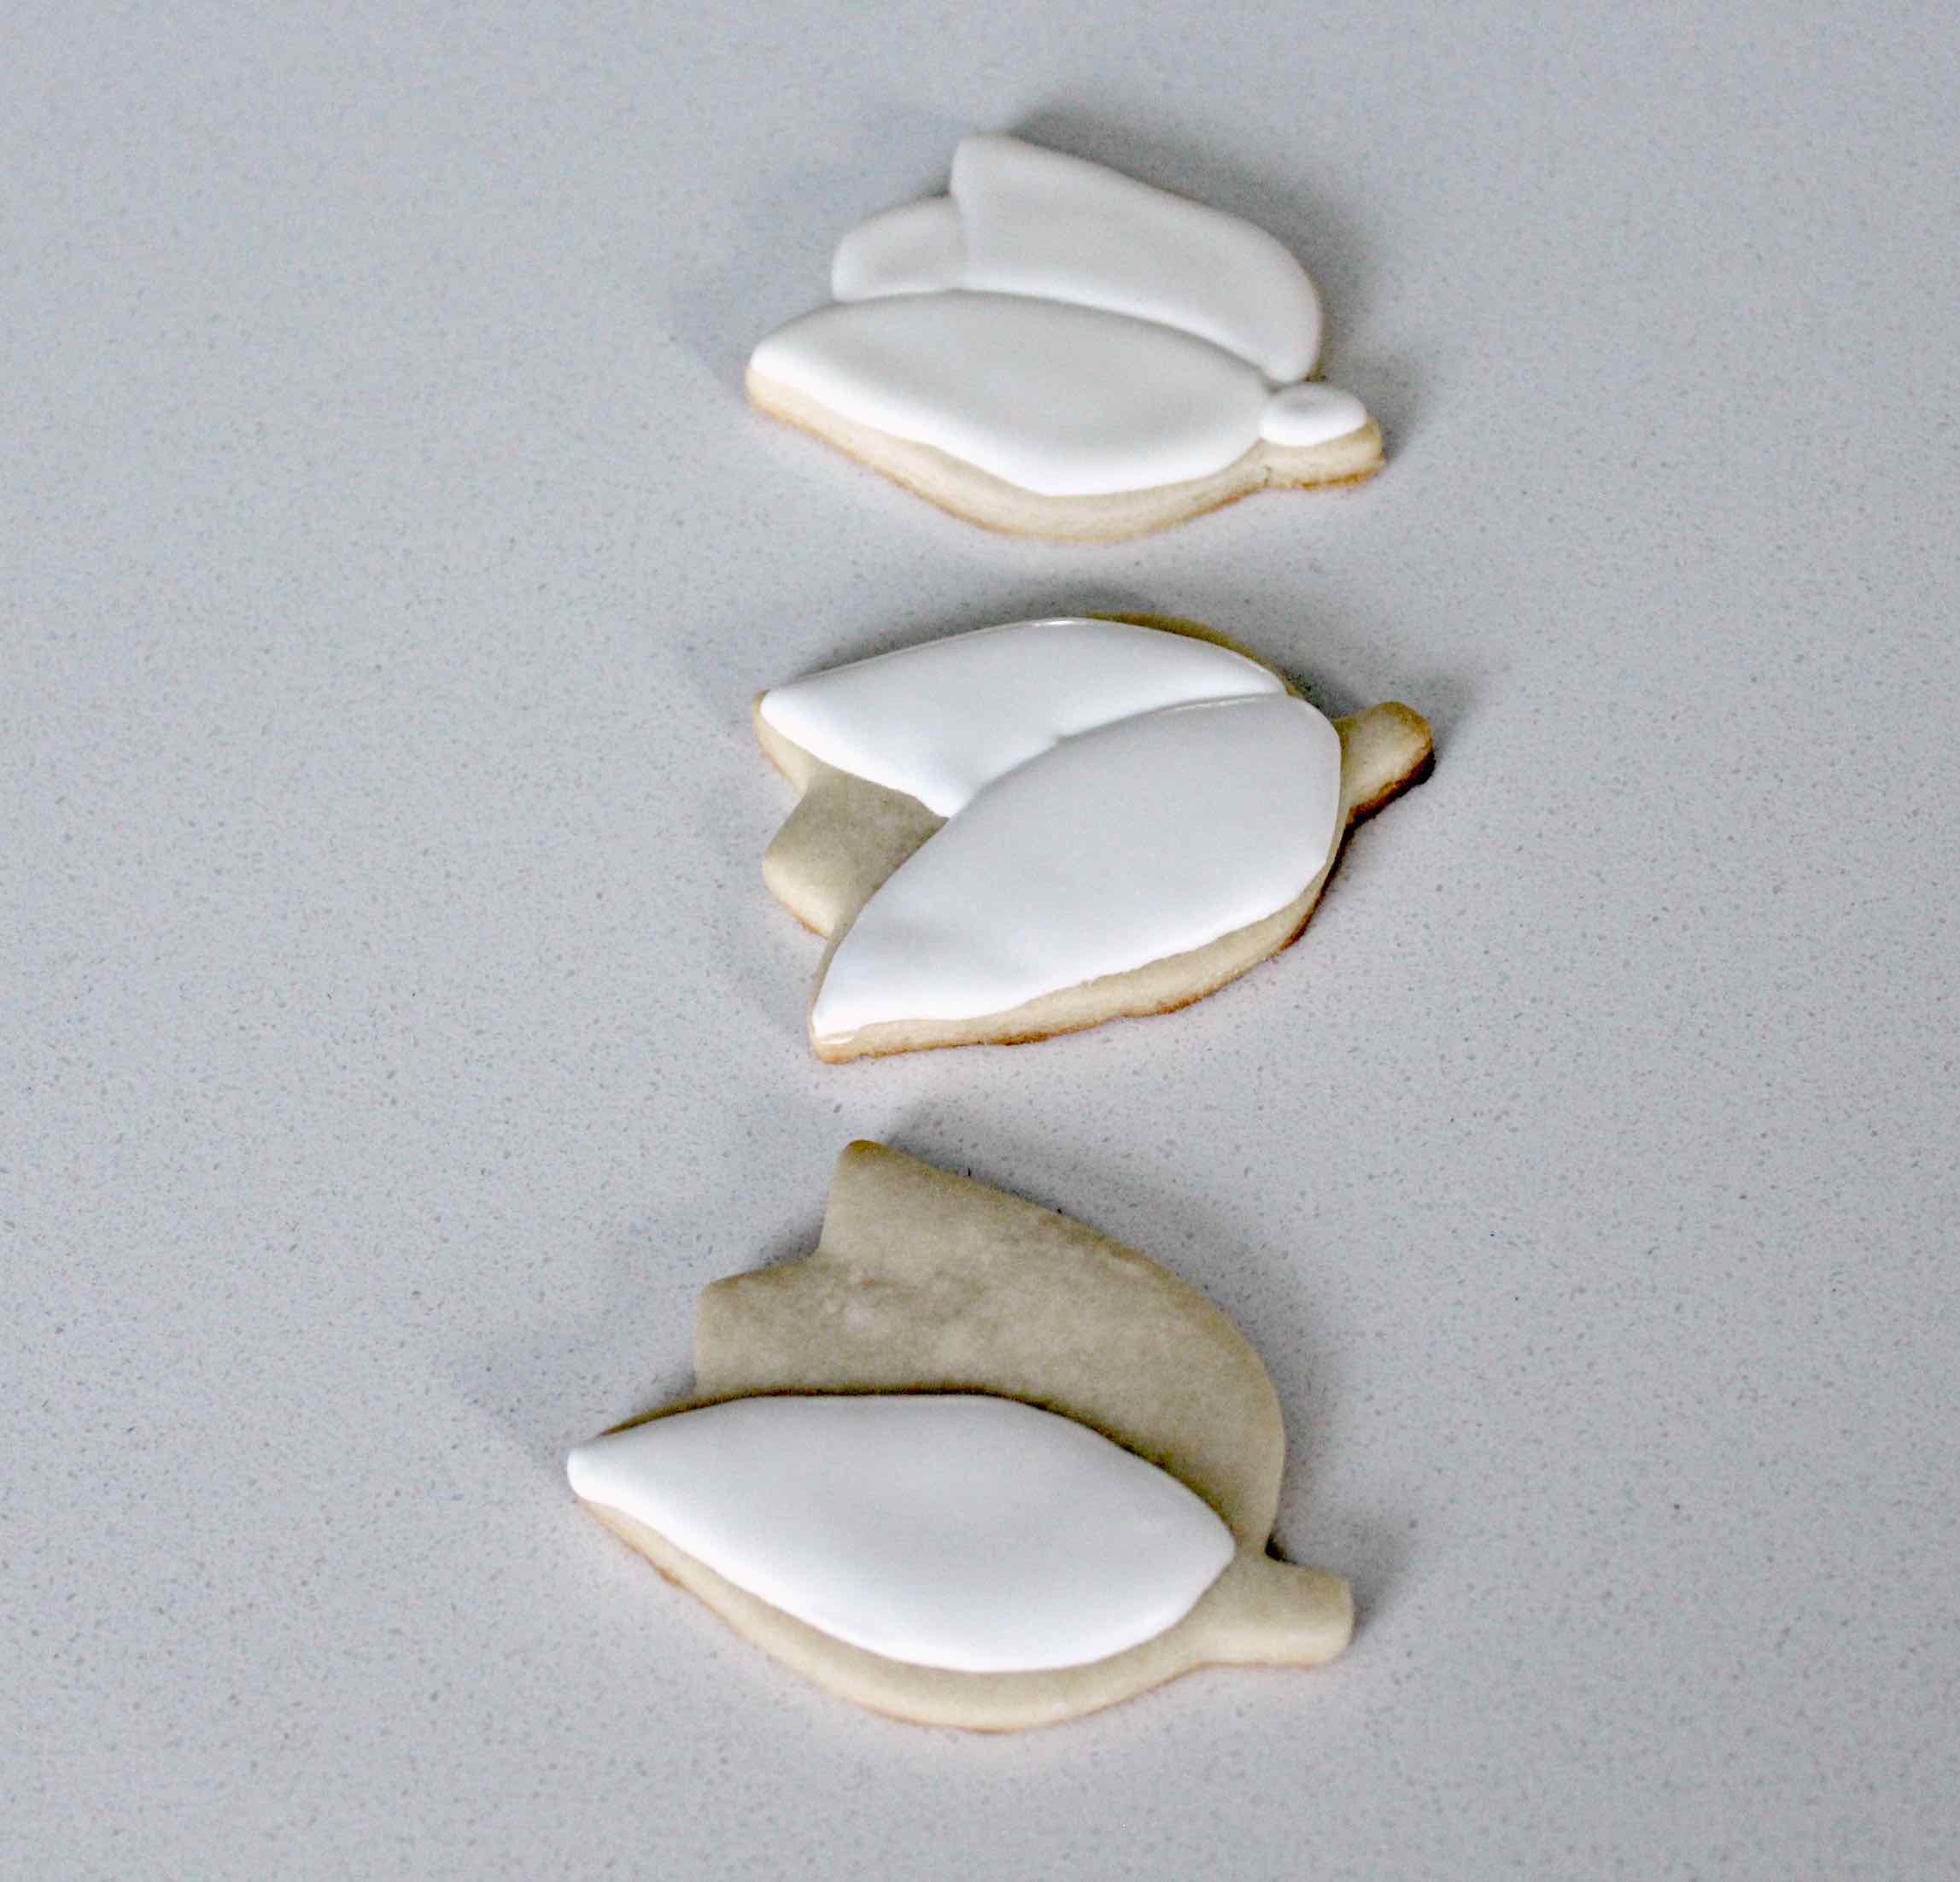
  • Flood your tulip cookies in three parts, allowing the icing to dry or set up for 15-20 minutes in between each part. This will give the cookie dimension. First flood the left petal, allowing the icing to dry slightly before flooding the right. Finally flood the middle petal and the stem.

  • Make sure your cookie are completely dry before painting them with the gel colours. I like to allow my cookies to dry over night. Even if the cookies look dry and are dry to the touch, the added moisture from the water/alcohol can cause cracks or dents in your cookie.

  • When painting sugar cookies I use Wilton brand gel colours, a variety of small clean food only paint brushes that I purchased from my local craft store and either water or some form of clear alcohol (such as white rum or vodka).

  • Royal icing can only take so much moisture before it starts to crumble and create holes or bubbles within the frosting. This makes it difficult to layer your colour or build up a design on the cookie. I find that using a clear alcohol typically produces better results then using water as it evaporates faster from the cookie.

  • Use paper towel or an extra flooded cookie to test out your colour blends before painting your actual cookies

  • For more tips on decorating with Royal Icing - check out this post.


Watercolour sugar cookie tulip bouquet perfect for spring

Tulip Sugar Cookie Bouquet Tutorial


You'll Need 

2-3 dozen sugar cookies in tulip and leaf shapes 

1 recipe of royal icing

12 inch pipping bag 

coupler 

Small Round Pipping Tip (like Wilton 3)

Paint pallet (or plate)

Gel Colours ( I used Wilton Pink, Christmas Red, Peach, Leaf Green, Yellow and Orange)

water or clear alcohol 

paint brush (only used for food) 

Brown Kraft Paper or Burlap 

Ribbon 


Directions

With your royal icing at a flood consistency (around 10 second icing), flood your tulip cookies in three parts, allowing the icing to dry or set up for 15-20 minutes in between each part. This will give the cookie dimension.  First flood the left petal, allowing the icing to dry slightly before flooding the right. Finally flood the middle petal and the stem. Outline and flood the leaves.

Steps by step how to flood tulip sugar cookies for a cooke bouquet

Allow the cookies to dry completely before moving onto the next step. 

Add your gel colours to your pallet. Using your paint brush and the water or alcohol, thin and blend your gel colours as you would water colour paints, until you reach your desired shades. 

Paint your tulip and leaf cookies as desired. Allow the paint to dry completely before packaging cookies into bouquets.


Water Colour Tulip Sugar Cookie Bouquet