Buttercream Rosette Cake Tutorial

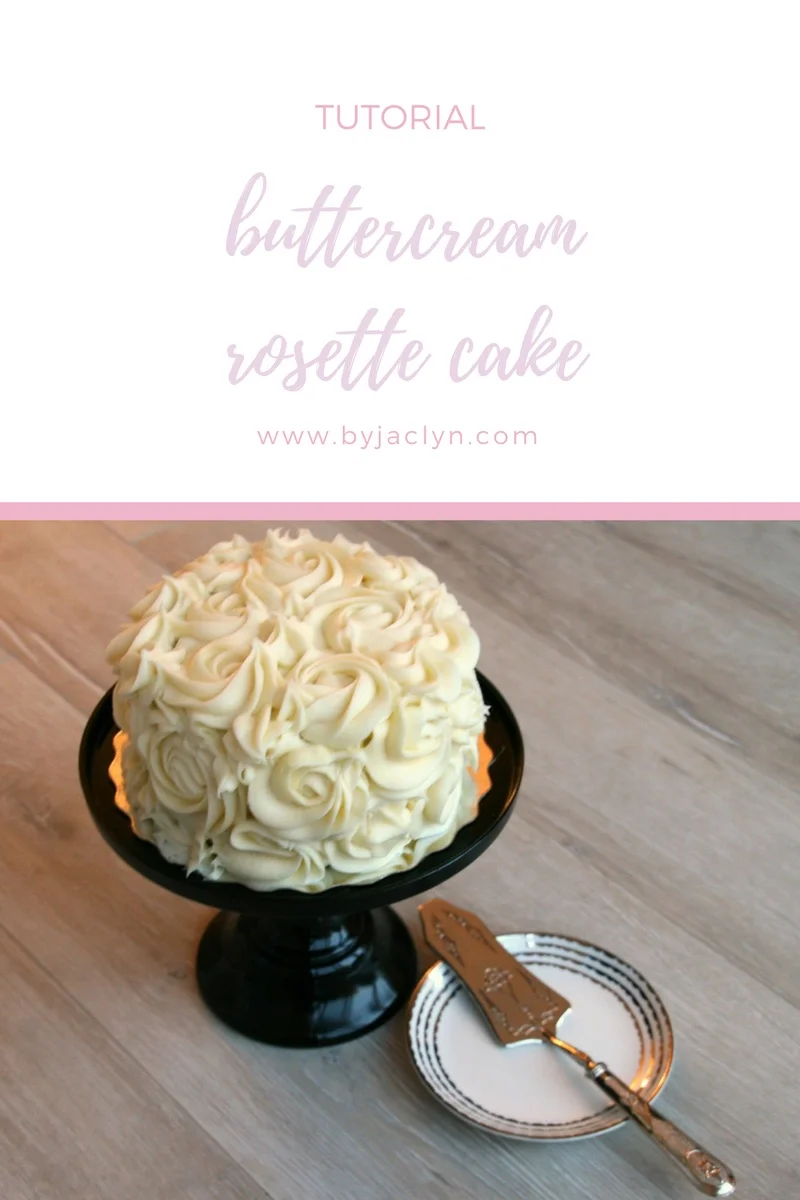
A quick and simple cake decorating tutorial to learn how to make a buttercream rosette cake using just a Wilton 1B decorating tip! 

Learn how to make a buttercream rosette cake using just a Wilton 1B decorating tip!

I have made this rosette cake more times that I can count. It is my go-to decorating technique when I need an elegant yet striking cake design. It looks beautiful on it's own or incorporated into a tiered cake design - like this wedding cake I made for my cousin.  I love that it only uses one decorating tip! This decorating technique is quick, simple and perfect for beginners. 

Tips for making a buttercream Rosette Cake

  • Make sure you have enough icing - these roses use up a lot. For an 8 inch cake - filled, crumb coated and covered in roses you will need 2-3 batches of this buttercream

  • Always ice a cold cake. If you try to ice a cake that is still warm from the oven the icing will just melt right off the cake

  • Add a good crumb coat to your cake before pipping your rosettes. This will lock in any crumbs and create a good base layer of colour for your cake - this is especially important if you are icing a dark cake (like chocolate) with a light colour frosting

  • Chill your cake in between adding the crumb coat and adding the rosettes. This will allow your crumb coat to set up

  • I prefer the look of a taller cake when decorating with rosettes. Go 3 or 4 layers high - trust me :)

  • Create rosettes around the sides of your cake first. Start your rosettes at the bottom of your cake and work your way up to the top

  • When you get near the end of the frosting in your pipping bag, make sure it has enough to complete a rose. It is harder to create the rosettes with a near empty bag (as you can see from my video below - I didn't always take my own advice...)

  • Add swoops or stars to fill in any gaps between roses

How to pipe a rosette? 

Start in what you want to be the centre of the rosette, and using even pressure slowly create a circle (or swirl) around the centre of the rose in a counter-clockwise direction.

What tip to use for a rosette cake? 

Any large star tip will work for creating a rosette cake. My preference is for the Wilton 1B decorating tip. I have seen other beautiful rosette cakes using the Wilton 1M and 2D tips as well. 


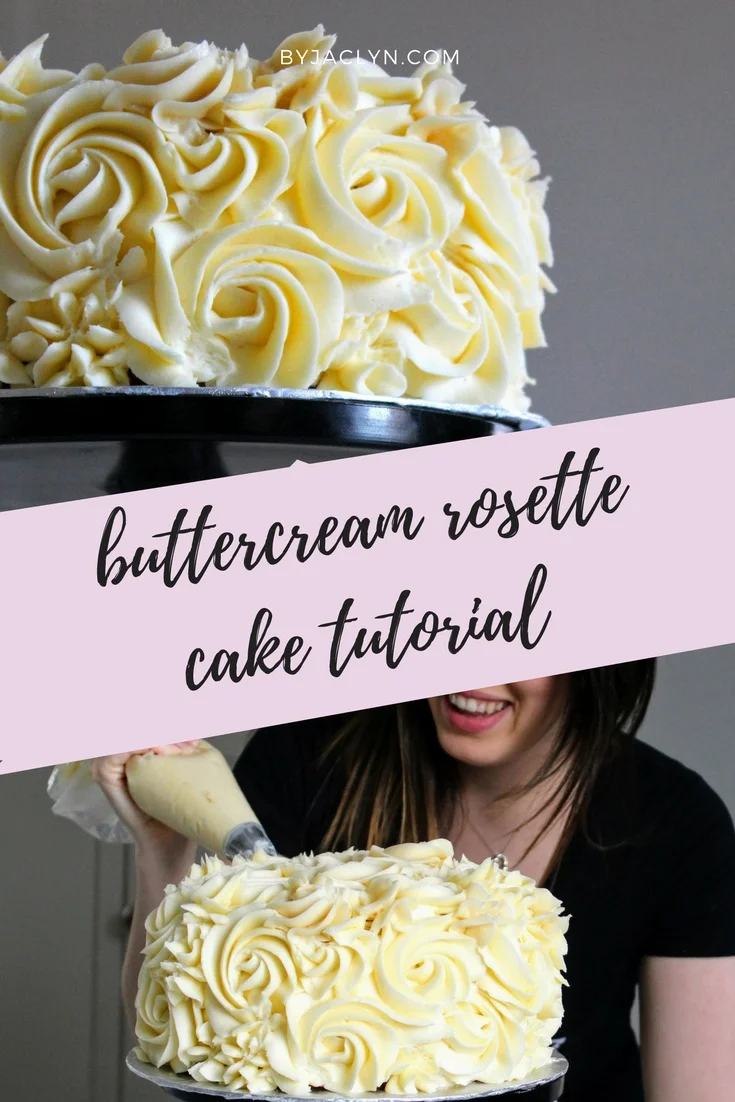
Learn how to make a buttercream rosette cake using just a Wilton 1B decorating tip!

Rosette Buttercream Cake Tutorial


You'll Need 

A 6 or 8 inch cake

Buttercream frosting (2-3 batches)

Pipping bag & tip (1B, 2D or 1M)

Offset spatula

Directions

Start with a 6 or 8 inch layered cake. Using your offset spatual, apply a crumb coat, using the same colour of frosting that you will be making your rosettes out of. It doesn't have to be neat, but it should cover the cake enough to keep all of the crumbs in and so the cake doesn't show through in between any gaps of the rosettes.

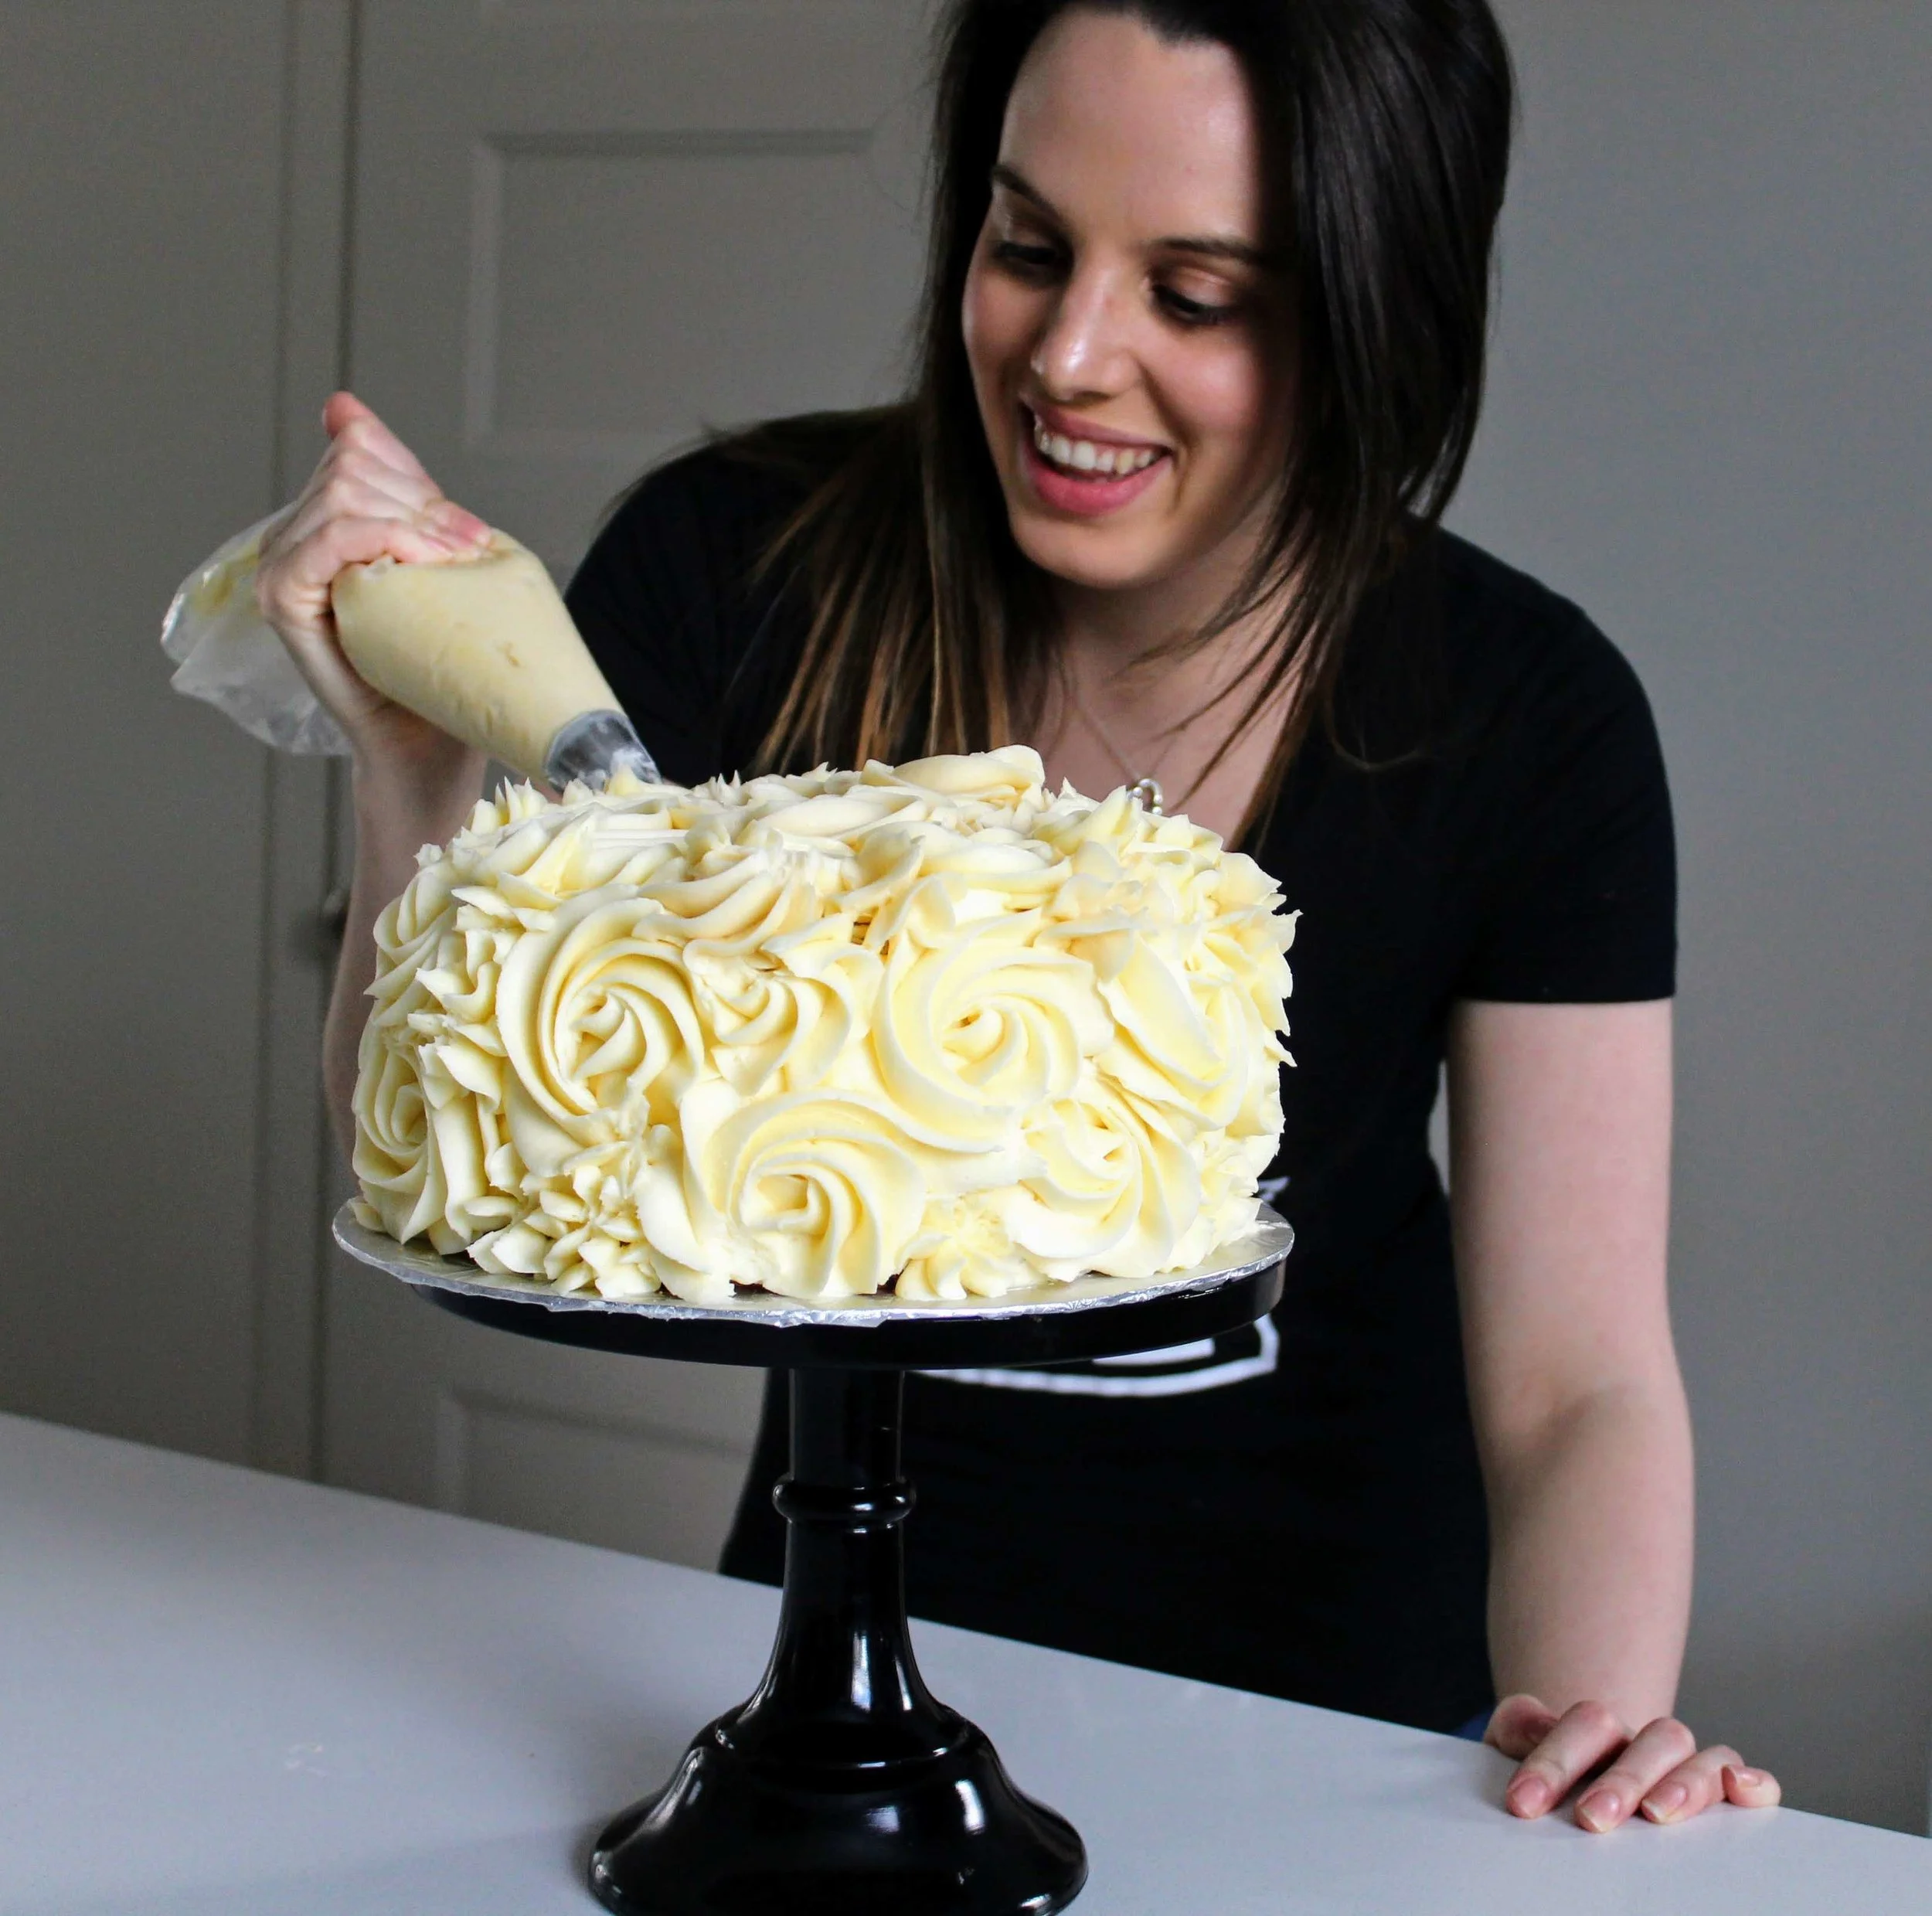
Place your decorating tip inside of your pipping bag and fill with your buttercream frosting. Start piping your rosettes on the sides of your cake first, working your way to the top and finishing the with top of your cake. To pipe a rosette: start in what you want to be the centre of the rosette, and using even pressure slowly create a circle (or swirl) around the centre of the rose in a counter-clockwise direction. Fill in any gaps between your rosettes with stars or swirls. 



Learn how to make a buttercream rosette cake using just a Wilton 1B decorating tip!

Breakup Brownies

These break up brownies are perfect for your Galentine's day celebration! A delicious combination of blondie and brownies topped with a eggless cookie dough make these bars hard to resist!

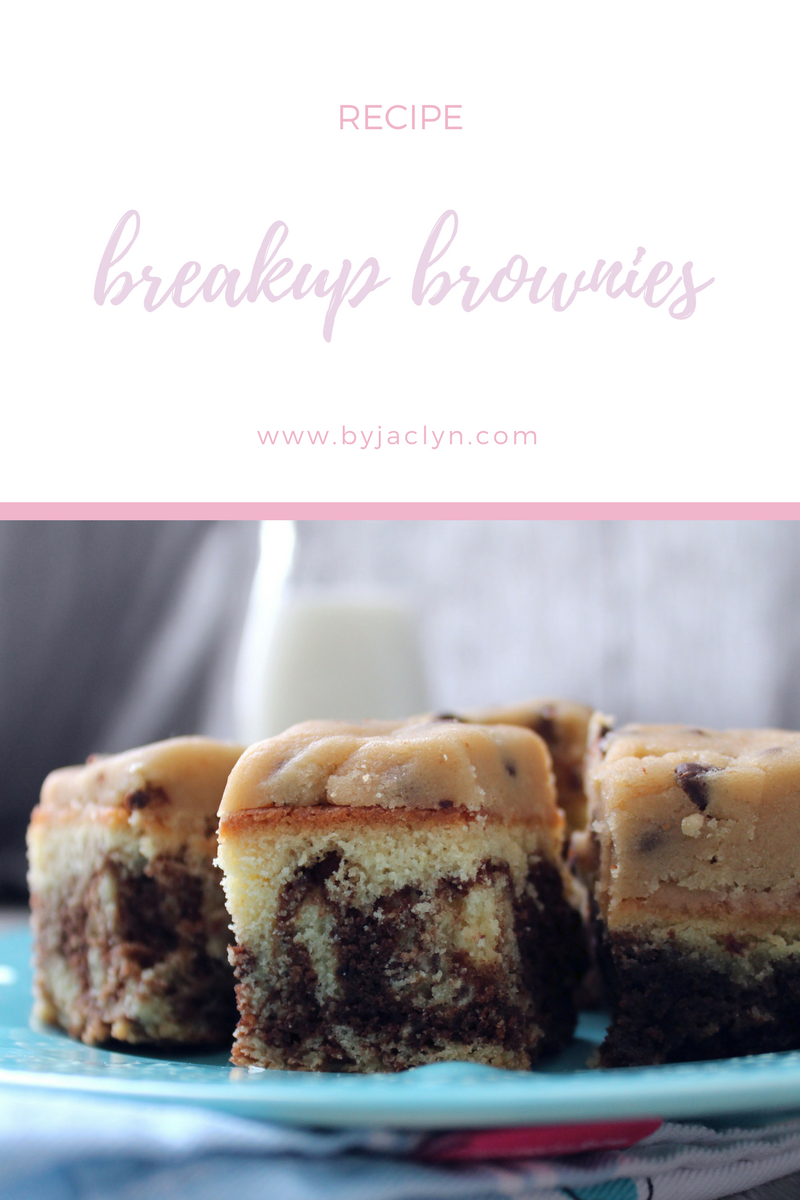
A combination of brownie and blondie bars topped with an egg free cookie dough

Okay! Let's talk about these breakup brownies!  These breakup brownies were inspired by half-baked ice cream. I was eating a pint of half baked a couple of weeks ago, and I thought how great would this be as baked dessert.  I knew I needed to include brownies and cookie dough into the final product -  I was like how do you make this up and keep the cookie dough unbaked? Obviously I was having a moment.

I wanted to make sure I also represented the vanilla ice cream - so that's where the blondie comes in! I decided to swirl blondie and brownie batters and top the finish product with an eggless cookie dough! Once the recipe was perfected, I was having some troubling coming up with a name. I mean half baked brownie bars just didn't seem to work - I thought it would be a bit confusing. As a joke I started calling them breakup brownies. I mean who doesn't want brownies and cookie dough when they are going through a breakup?

 
A combination of brownie and blondie bars topped with an egg free cookie dough

Breakup Brownies

Ingredients

For the blondie

⅓ c butter, melted

1 c sugar

1 tsp vanilla extract

2 eggs

½ c flour

For the brownie

⅓ c butter, melted

½ c sugar

½ c brown sugar

½ tsp vanilla extract

2 eggs

¼ c cocoa powder

¼ c flour

For the cookie dough

½ c butter, softened

½ c brown sugar

½ c sugar  

½  c flour

1 tbsp heavy cream

1/4c mini chocolate chips

Directions

Pre-heat oven to 350F. Grease a 8x8 inch baking tin with butter and dust with flour. Set aside.

For the blondies: In a large bowl, whisk together butter and sugar until combined. Whisk in vanilla. Add eggs one at a time whisking well after each addition. Add flour and salt to the wet ingredients. Whisk until just combined. Transfer batter to prepared pan, using an offset spatula evenly spread batter in pan.

For the brownies: In a large bowl, whisk together butter, sugar and brown sugar until combined. Whisk in vanilla. Add eggs one at a time whisking well after each addition. Add cocoa powder, flour and salt to the wet ingredients. Whisk until just combined. Transfer batter to prepared pan, using a butter knife marble brownie batter with the blondie batter.

Bake for 28-35 minutes. Top will be shiny and edges should be set. Allow brownies to cool in the pan.

For the cookie dough:
Beat together the butter and sugar until light and fluffy. Beat in vanilla extract and heavy cream. Beat in flour until just combined. Stir in mini chocolate chips.

Once the brownies have cooled completely, evenly spread the cookie dough on top. Cut brownies into squares. Enjoy!

 
Inspired by Half Baked Ice Cream these break up brownies are a combination of brownie and blondie bars topped with an egg free cookie dough

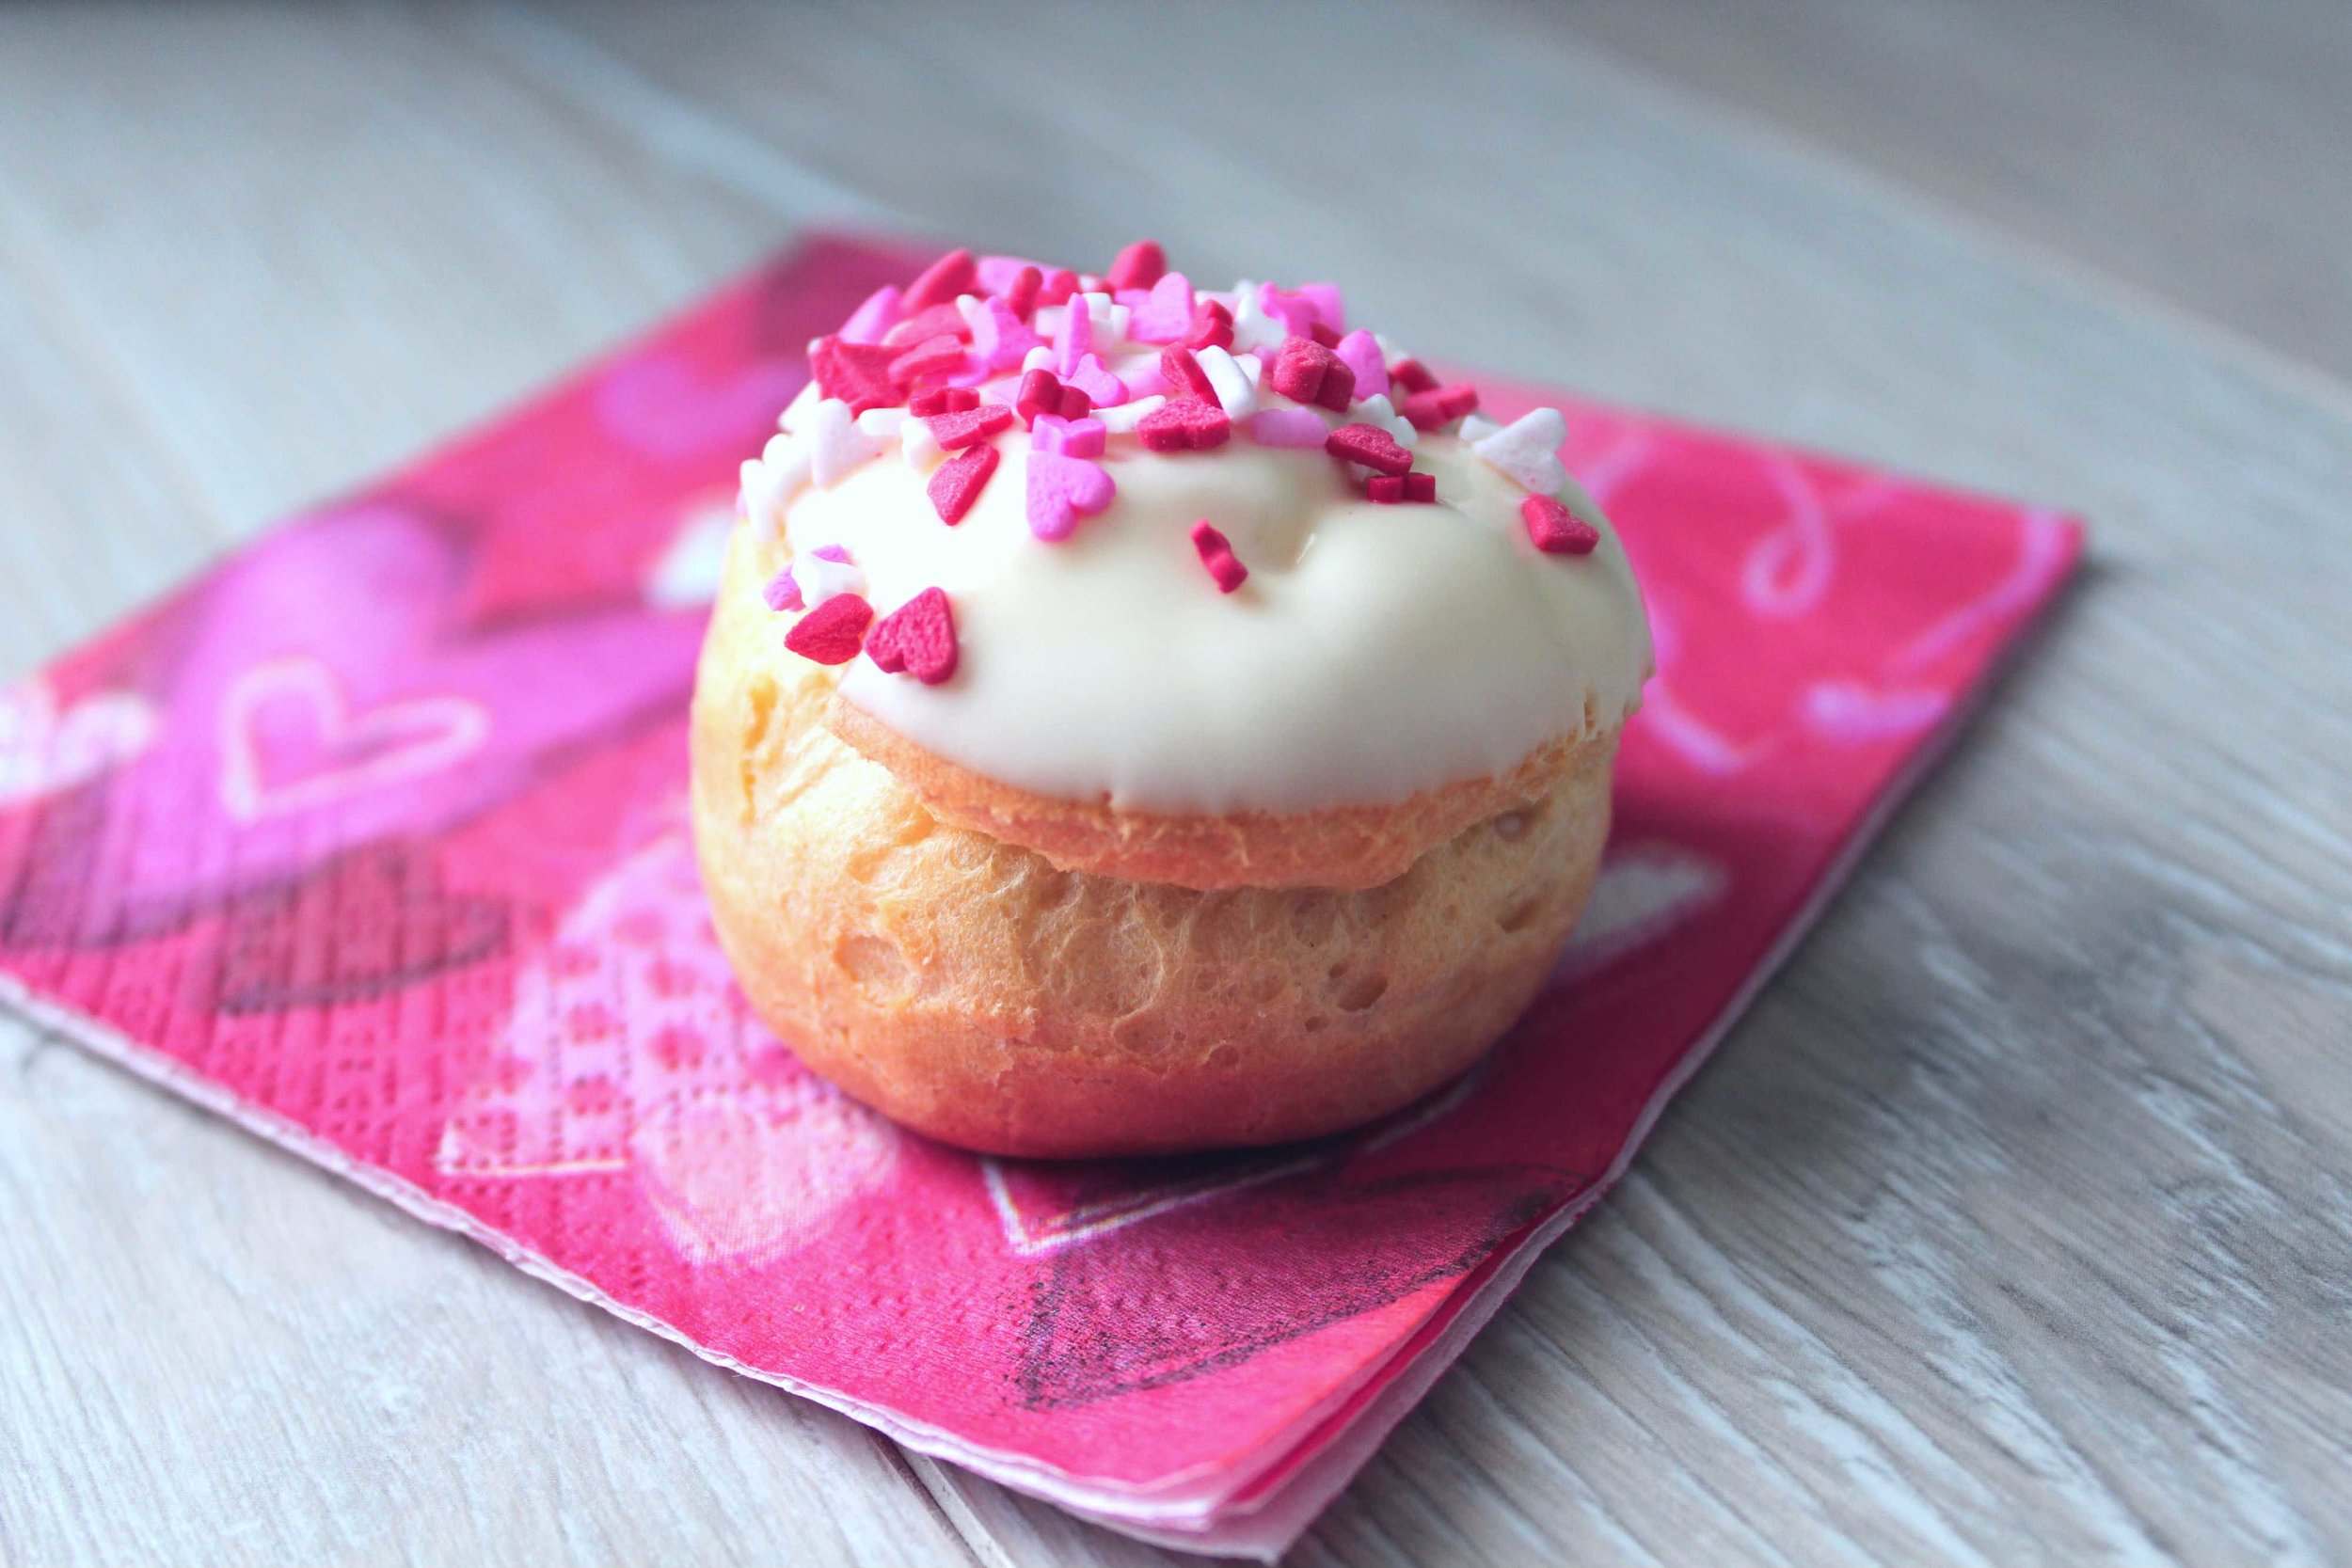
White Chocolate Raspberry Cream Puffs

Light and airy cream puffs dipped in white chocolate and filled with a delicious raspberry whipped cream. These beautiful cream puffs make for the perfect Valentine's Day treat!

White Chocolate Raspberry Cream Puffs

I can't believe that Valentine's Day is less than a week away! Are you celebrating early this weekend? Or waiting to celebrate on Wednesday? We are planning on going out for dinner tomorrow night but otherwise our Valentine's Day celebration will be low key.  

I have been having so much fun playing around with pate a choux party. I love how light and airy it is! I knew I wanted to make a light and refreshing Valentine's Day treat and pate a choux was the obvious choice. I knew I wanted to include some chocolate in the dessert - since it is for Valentine's Day. I decided to go with a white chocolate glaze to add sweetness. The raspberry whipped cream filling is so light and airy but totally delicious with just the right amount of raspberry flavour. I love the white and pink colour combination - its perfect for Valentines Day! 

 
White Chocolate Raspberry Cream Puffs

White Chocolate Raspberry Cream Puffs

Makes: 18 Cream Puffs

Ingredients 

1 c water

1/2 c butter, cut into cubes

1/2 tsp salt

1 tbsp sugar

1 c flour

4 eggs

1 c heavy cream

1-3 tbsp icing sugar, depending on sweetness level of raspberries

½ c raspberries, pureed

3/4 c white chocolate chips

sprinkles (optional)

Directions

Pre-heat oven to 425F. Line two baking sheets with parchment paper, set aside.

In a medium saucepan, over medium heat, combine the water, butter, salt & sugar. Simmer until the butter has melted and the mixture comes to a light boil. Take the mixture off the heat and stir in the flour with a wooden spoon. Place the mixture back on the heat and continue to stir until the mixture starts to come off the sides of the pan and a ball forms.

Transfer mixture to stand mixer fitted with paddle attachment. Mix over medium speed for 2-3 minutes, allowing mixture to cool slightly. Beat in eggs one at at time.  The mixture will break or come apart with each addition but should come back together before you add the additional egg. Your pastry should be shinny and of a smooth consistency.

Transfer pastry to a piping back fitted with a large round tip (I used a coupler) and pipe 1 inch rounds, about 2 inches apart onto baking sheet. Use a small amount of water to smooth out peak on each dough mound. 

Bake for 10 minutes for at 425F, then drop oven temperature to 375F and bake for 10 -15 minutes or until golden brown. Allow shells to cool completely before filling.

In a chilled bowl of a stand mixer, fitted with a whisk attachment, combine the whipping cream and icing sugar. Whip mixture on high speed for 3-5 minutes or until stiff peaks form. Fold in raspberry puree. 

Fill a pipping bag fitted with a large round tip (I used Wilton 12) with your raspberry whipped cream filling. Poke your pipping tip into the bottom of a cooled cream puff shell. Pipe filling into bottom of each shell until filling starts to ooze out. Dipped filled cream puffs into white chocolate and top with sprinkles if desired. 

 
White Chocolate Raspberry Cream Puffs